What platform do you use for taking notes? For a long time, I’ve used Evernote since it offered a lot of features in terms of categorization and the ability to easily copy articles from the internet for reading later. While there are other notable options out such as Notion and Obsidian, I decided to go with a self-hosted solution. This way, I can use it as a fun learning project on how to host services on a Linux server. I decided to go with the self-hosted wiki software called Bookstack. This article will show how to setup Bookstack on a virtual machine hosted on a Proxmox server.
Bookstack is a self-hosted wiki platform with a library theme. Your wiki pages are pages in books. You can organize the pages in these books into chapters. You can then take these books and place them on shelves for further categorization. You can even place the same book on multiple shelves if you desire. For my purposes, I’m using Bookstack as a documentation platform for write-ups on setting up my homelab as well as storing notes on various topics, mainly cybersecurity, networking, and programming.
The website for Bookstack can be found here:
LXC Creation
Downloading a Container Image
I’m choosing to use a LXC container as opposed to a complete virtual machine since Bookstack will be the only service running on this machine. LXC containers act like light virtual machines as they share the host kernel but do not require the memory and disk requirements of a full virtual machine. This makes these sorts of containers suitable for running a light application like Bookstack. Also, Proxmox comes with container images by default, making spinning up machines fast and simple.
The first thing we need to do is download an image. Click on your storage device at the bottom of the list on the left-hand side. In my case, it is “local-pve.” Then, click “CT Templates.” Then, click templates.
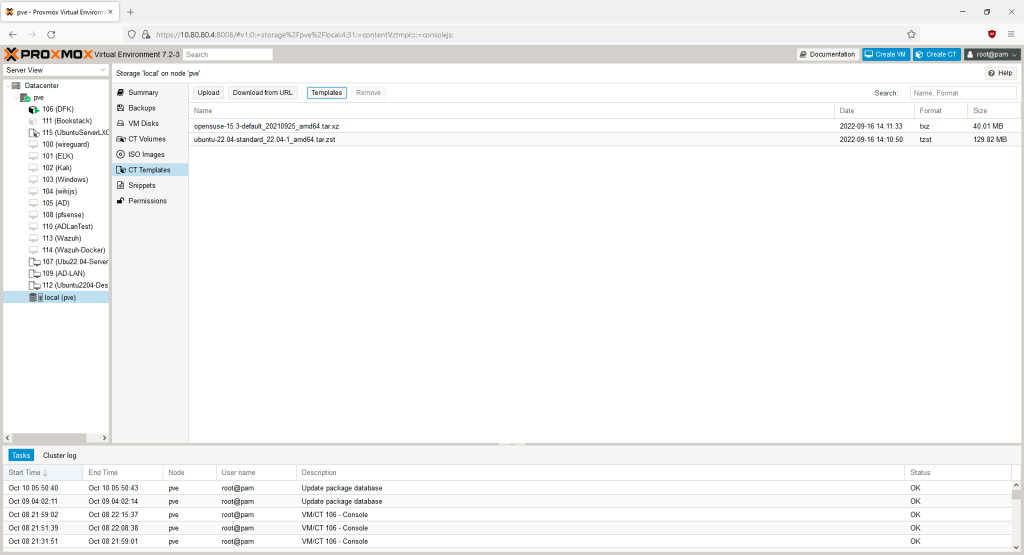
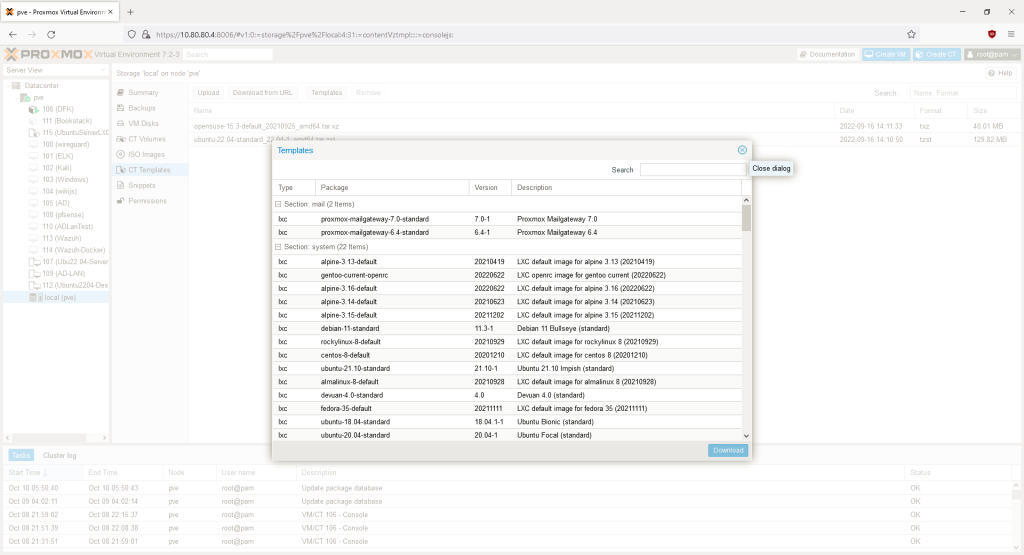
Proxmox has containers for a wide range of distros but for this application, we’ll be using the Ubuntu 22.04 image. Click on the image and hit download.
After the download is finished, click “Create CT” in the upper right-hand corner.
General Tab
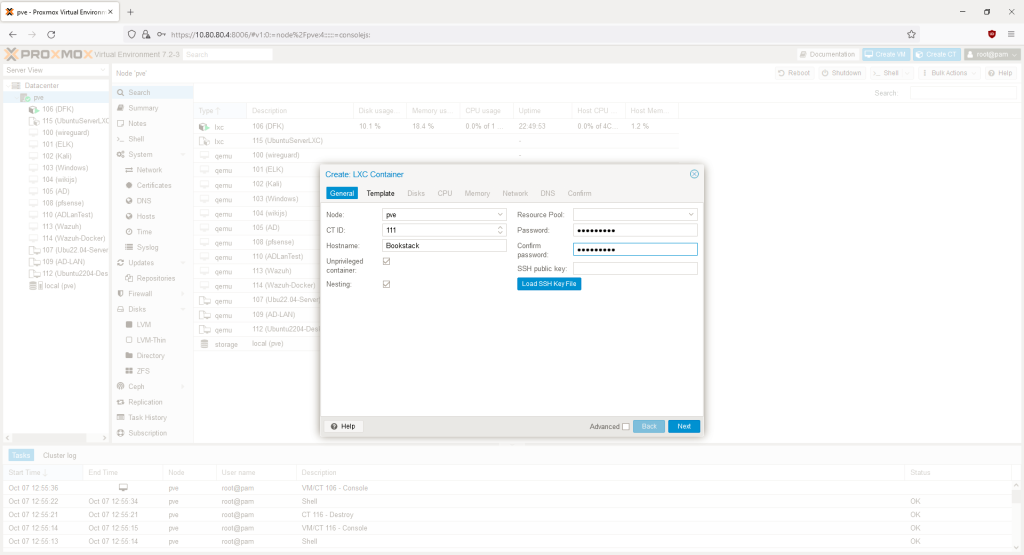
In the first screen, create a name for the container and enter a secure password for login. Hit next.
Choose a Container Template
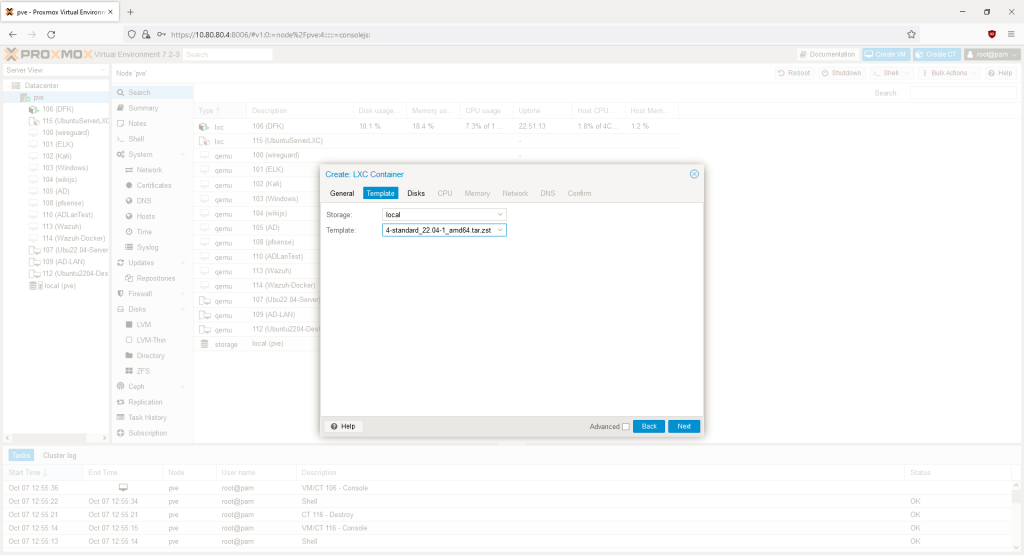
For this machine, we’ll use an Ubuntu 22.04 container image. Hit next.
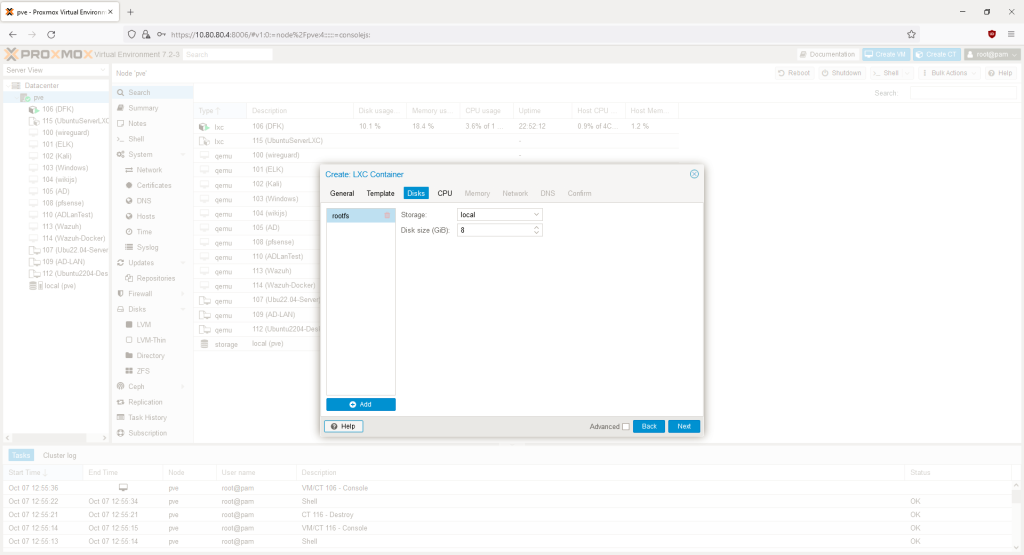
Disk Creation
Choose where the machine will be stored and the size of the disk. Hit next.
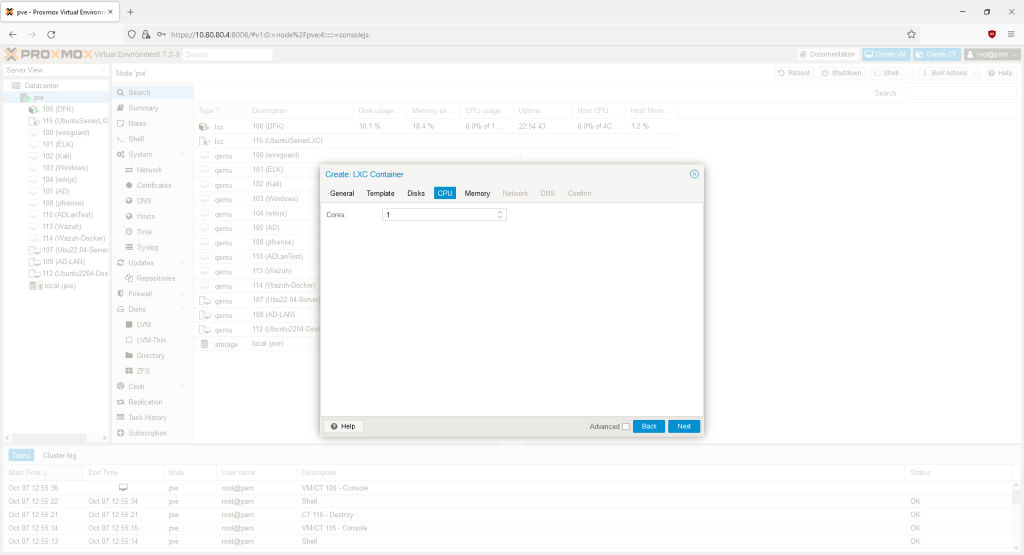
CPU Settings
Since this machine will only be used to host the wiki page, one core will be enough. Hit next.
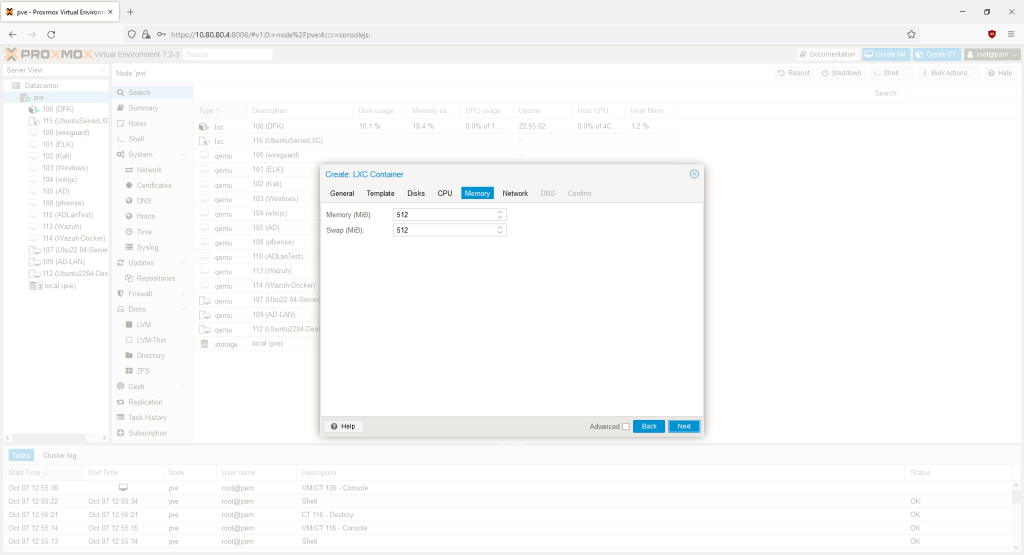
Memory Settings
We’ll use the default memory settings since Bookstack isn’t a memory intensive service.
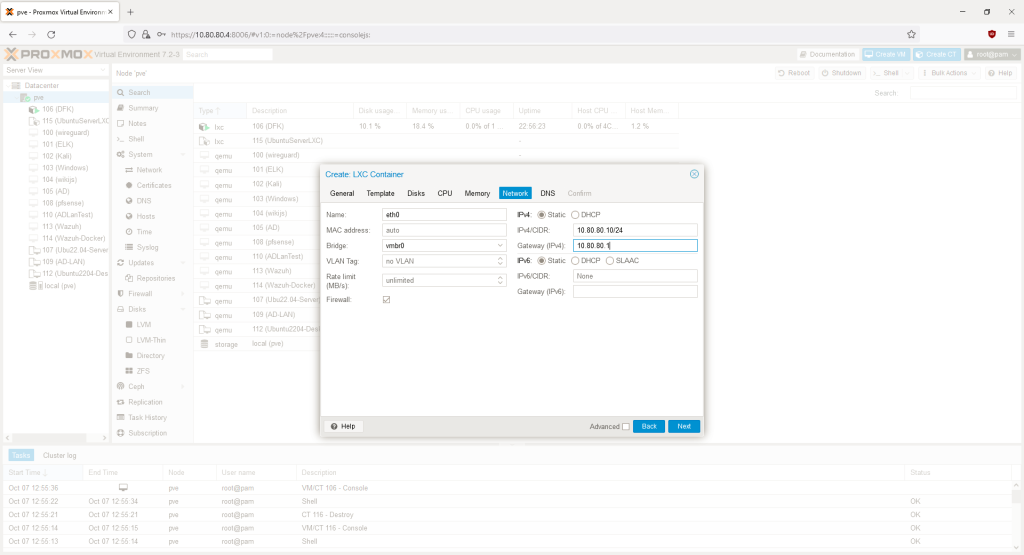
Network Settings
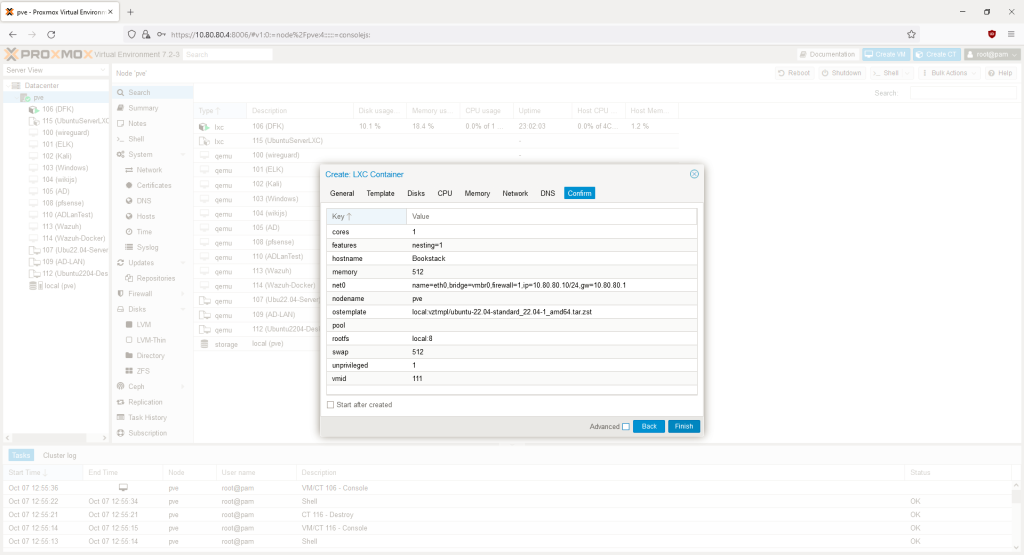
On this screen, we’re going to configure the IP address of our wiki. We’re going to give this machine a static IP address since we don’t want the IP address used to access this machine to change. For my network, I want this machine to have an IP address of 10.80.80.10. In the IPv4/CIDR field, I’m going to put 10.80.80.10/24 since I want this machine on the 10.80.80.0/24 network. The default gateway is the IP address of the router’s interface on this network. You will have to adjust your network settings to match your own network’s subnet. Remember the IP address of this machine, it will be needed later.
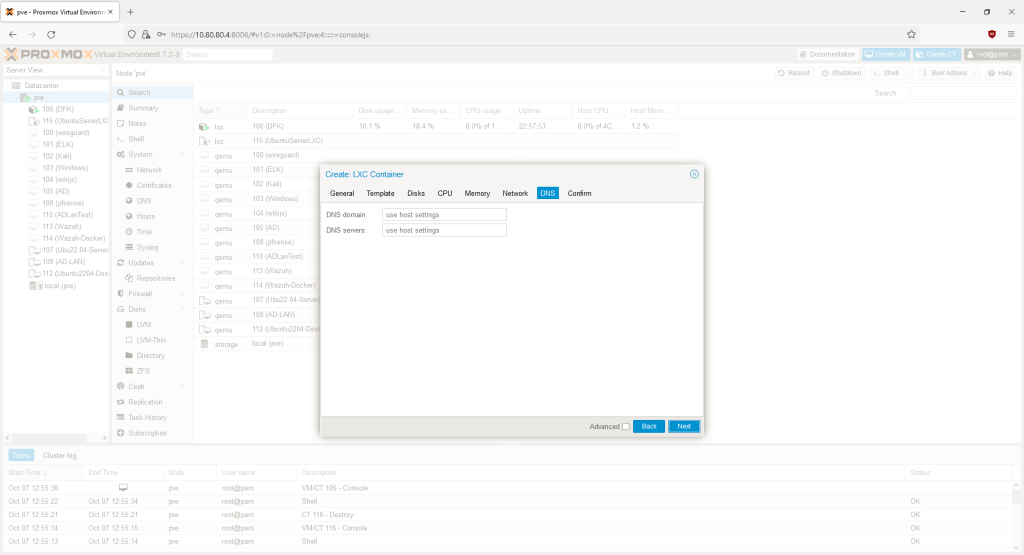
DNS Settings
We’ll leave the DNS settings as they are. We want this machine to use the same DNS settings as the Proxmox host.
Confirmation
Review the confirmation screen and hit finish.
Installing Bookstack
Initial Setup
Now that the container is created, we can start the machine. Click on “Bookstack” (or whichever named you picked for this machine) and then click start.
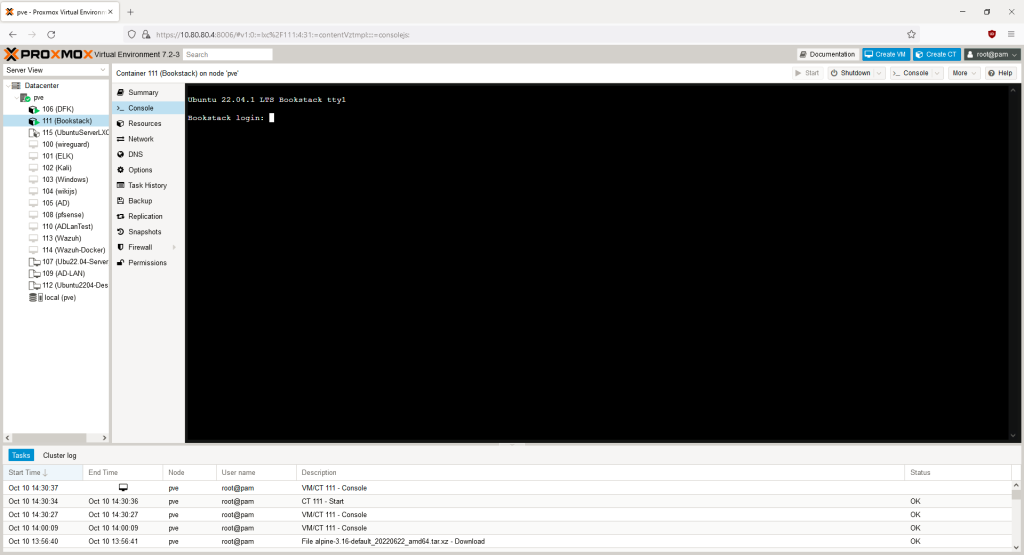
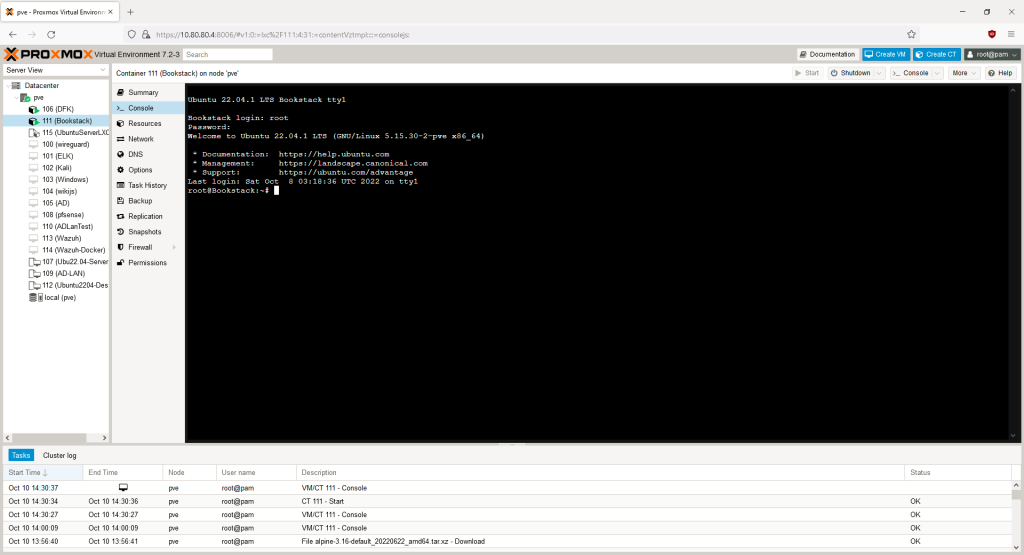
Log in as root and the password will be what you provided earlier when creating the container.
Update the System
The first thing we’ll do is update the system with the following command:
apt update && apt upgrade -y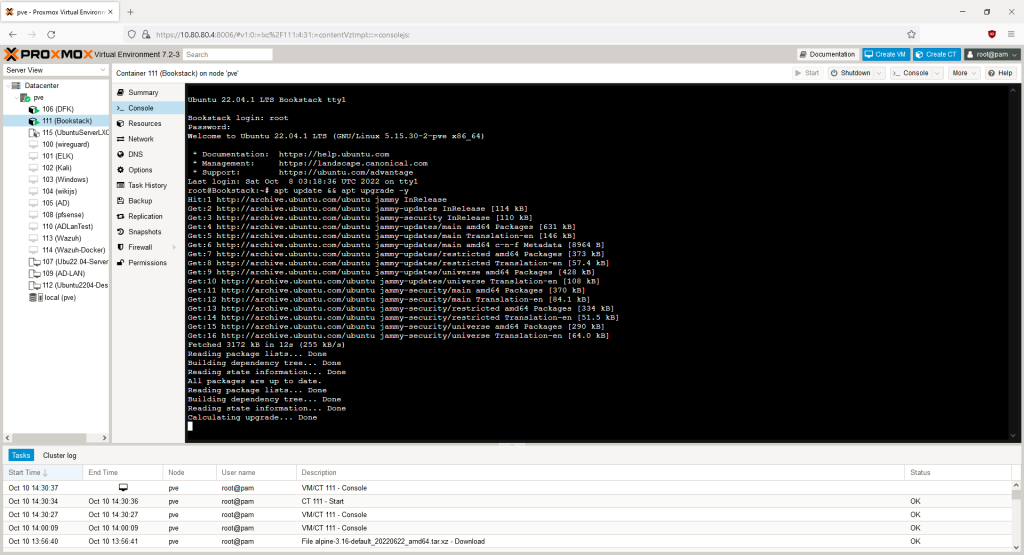
System updating
Disable Root Login
As a security practice, we’re going to disable root logins and create a user account with sudo privileges. Run the following command:
adduser <username>Enter the name you want for the account after “adduser” without the brackets.
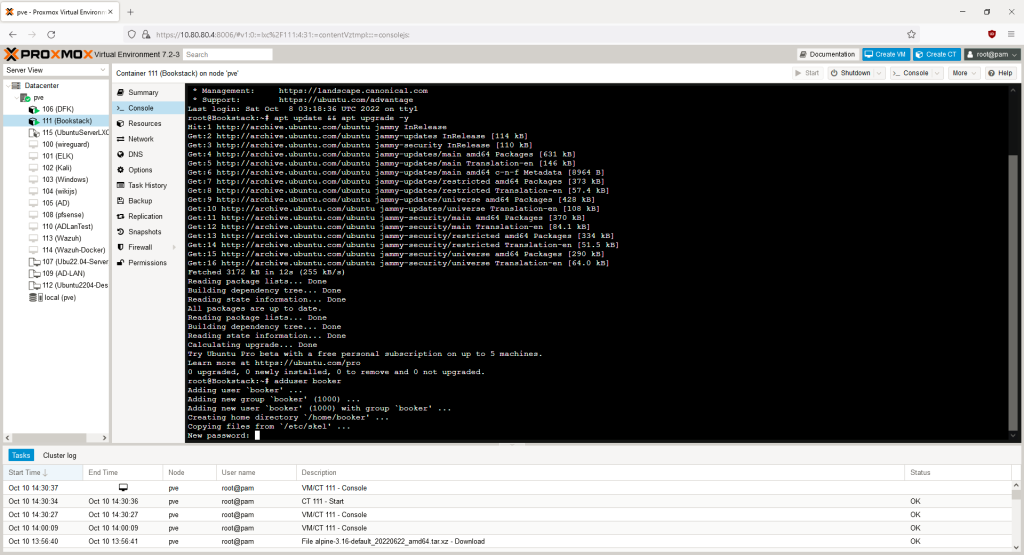
You will be asked to provide a password for this account followed by identifying information. The additional information is optional so feel free to leave it blank by hitting enter.
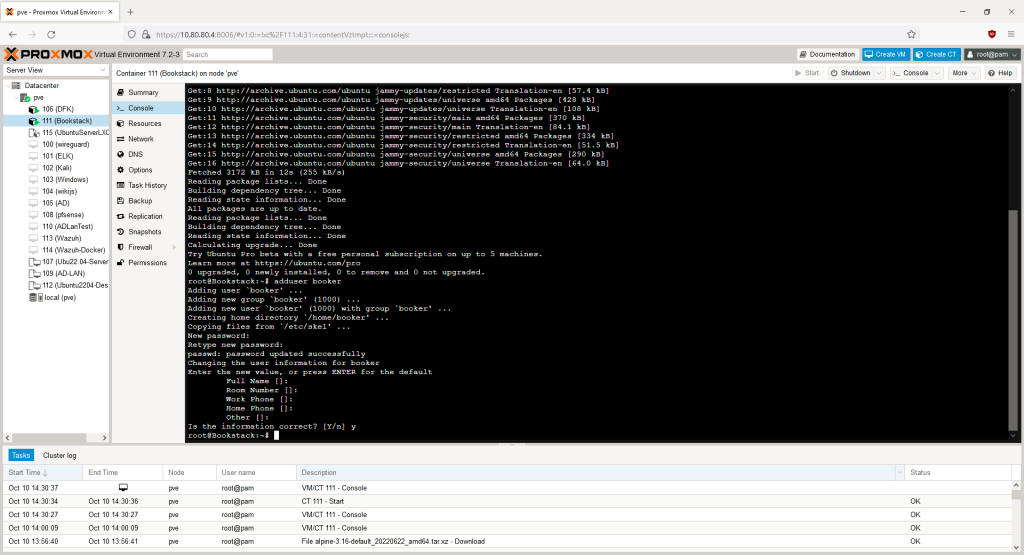
Next, we’ll add this user to the sudo group so it can use the sudo command. Run the following command:
usermod -aG sudo <username>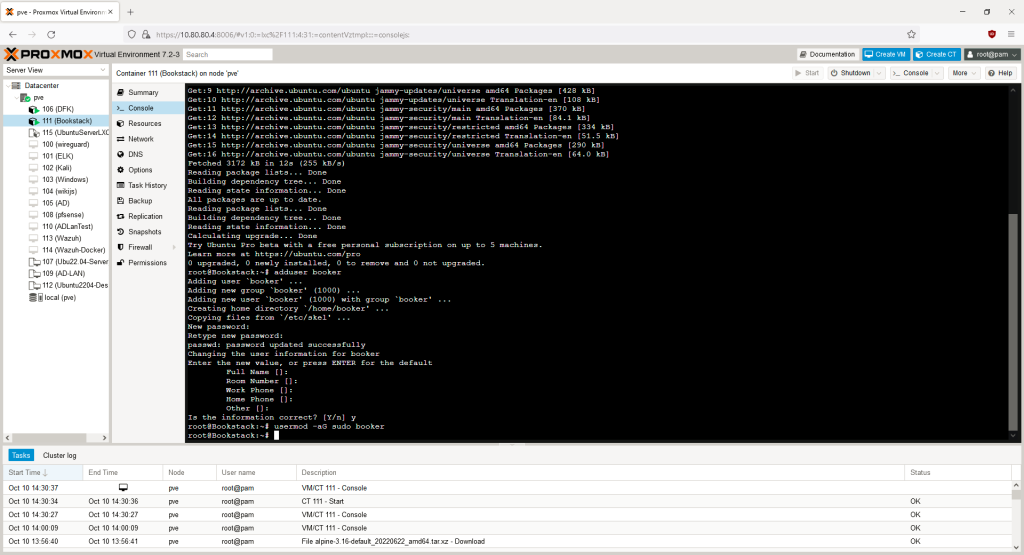
Next, we’ll confirm the user is included in the sudoers group with the command:
sudo -l -U <username>The line (ALL : ALL) ALL under confirms the user was successfully added to the sudo group.
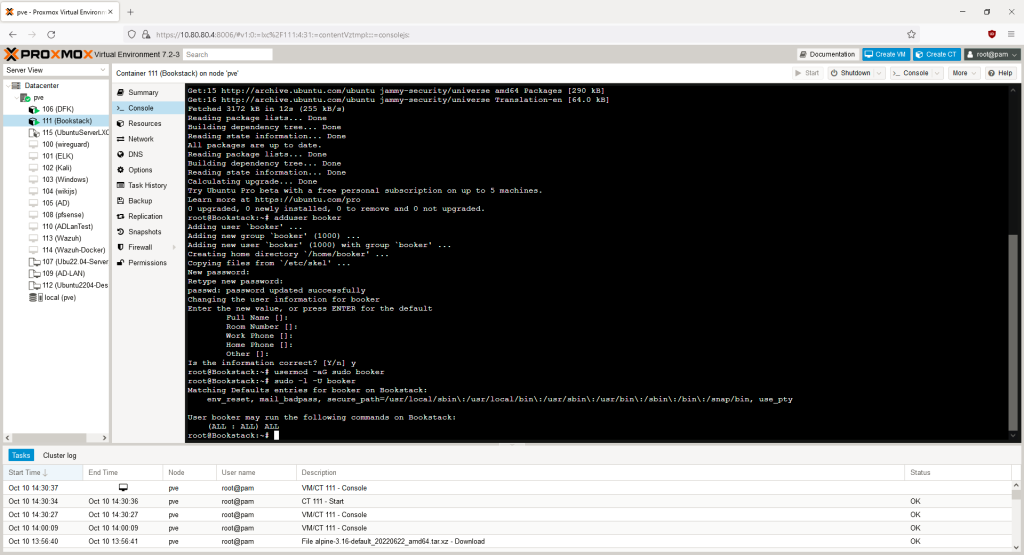
Now that we have confirmed the new user can use sudo, we can disable root login. Run the command:
passwd -l root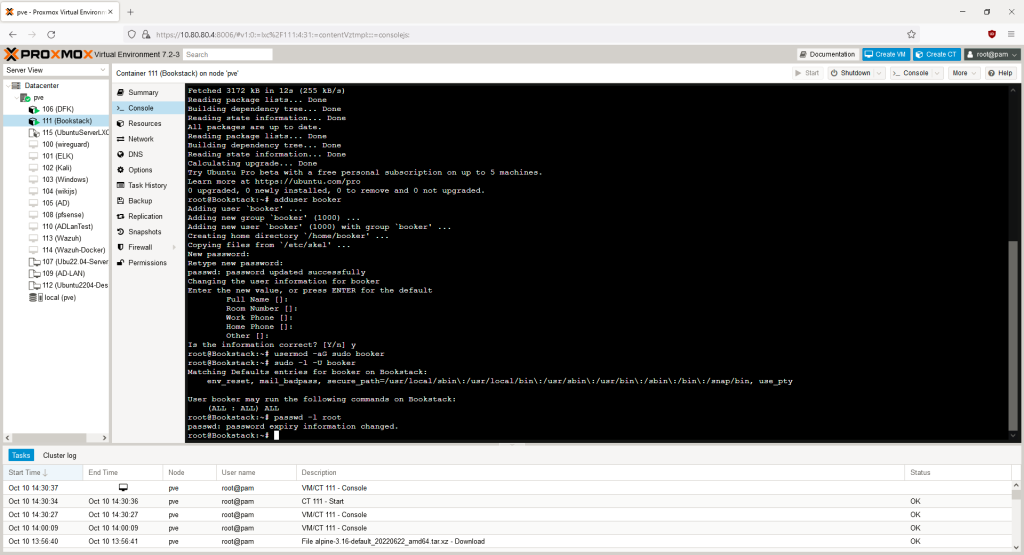
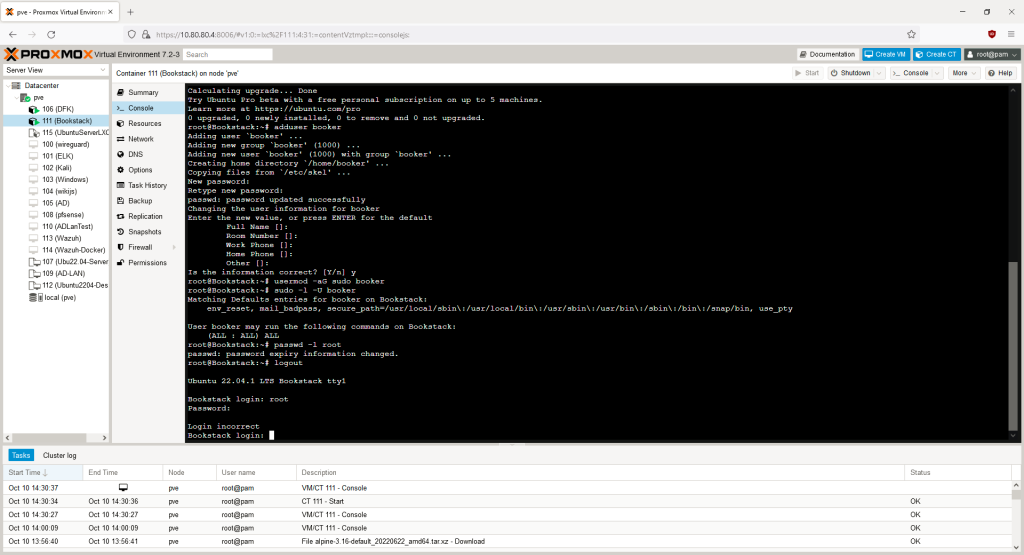
Type in “logout” to log out of root. If you try to log in as root again, you won’t be able to.
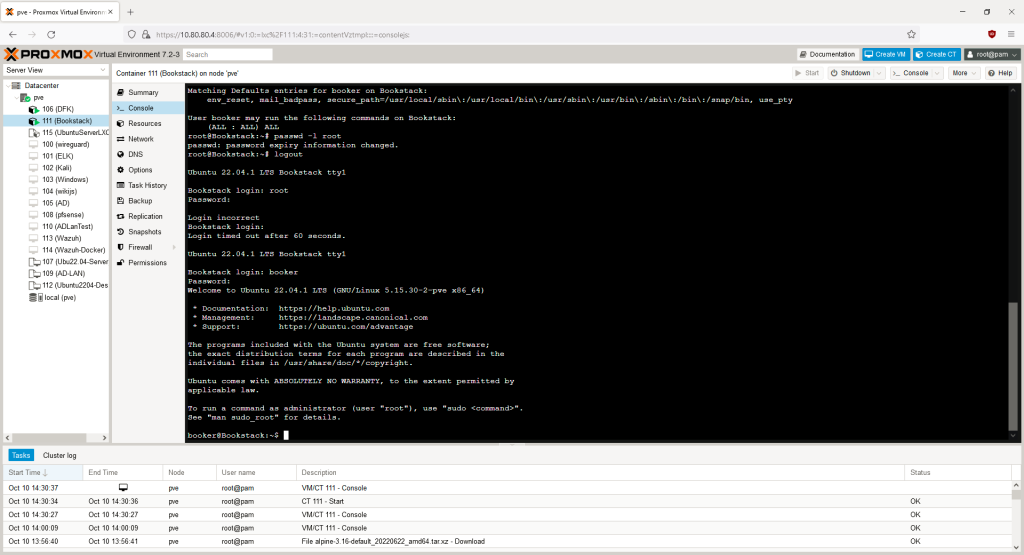
Log in as the user you created.
Install Bookstack
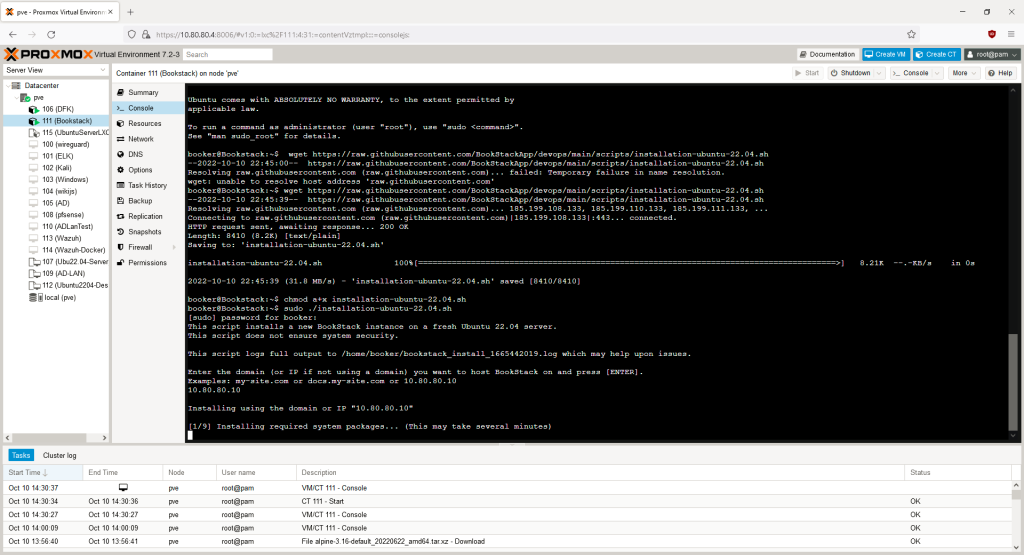
Installing Bookstack is straightforward. Run the following three commands:
# Download the script
wget https://raw.githubusercontent.com/BookStackApp/devops/main/scripts/installation-ubuntu-22.04.sh

# Make it executable
chmod a+x installation-ubuntu-22.04.sh

# Run the script with admin permissions
sudo ./installation-ubuntu-22.04.sh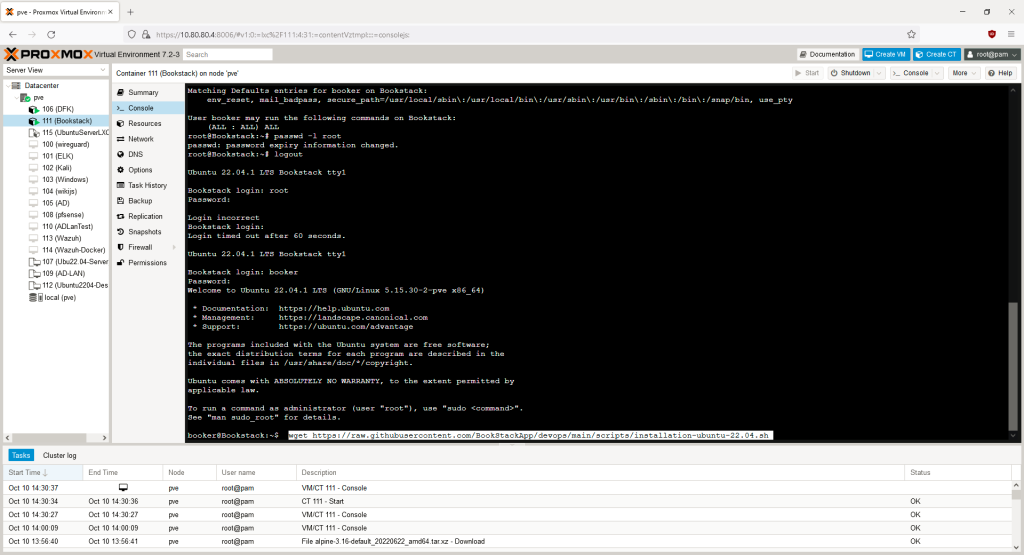
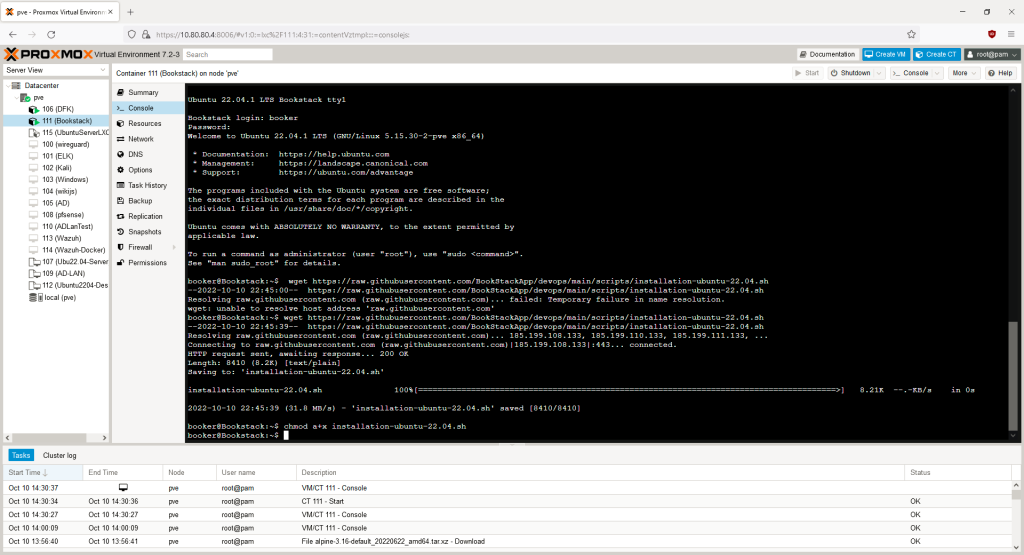
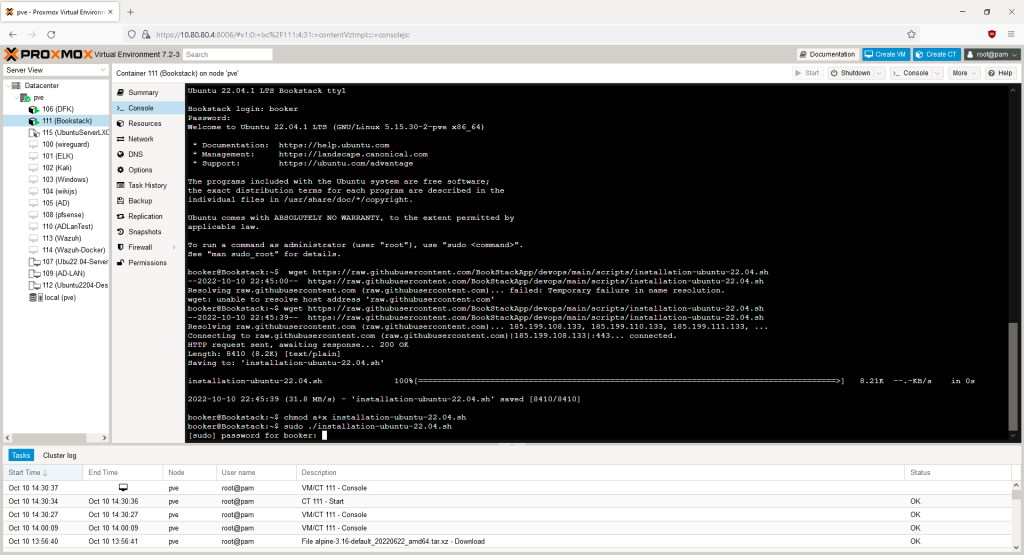
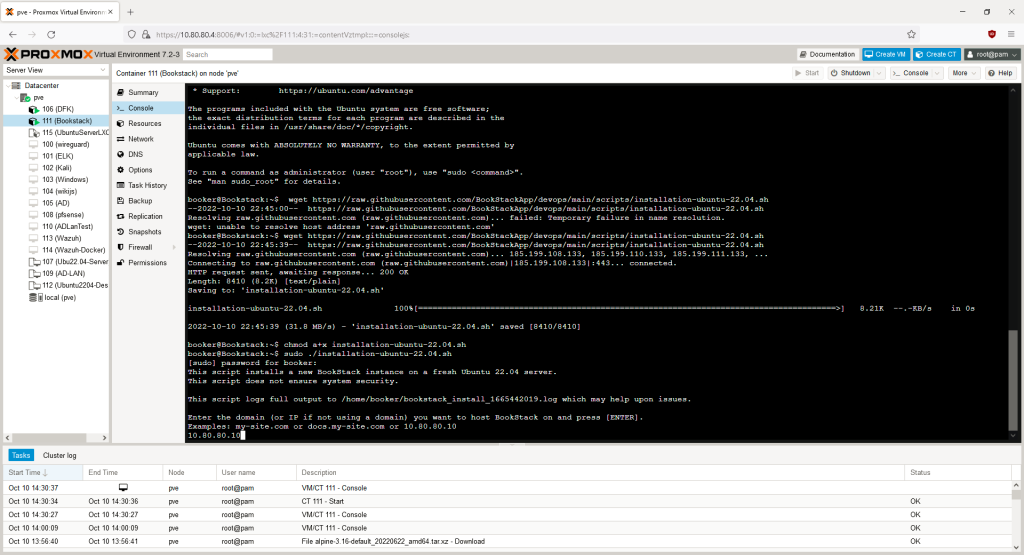
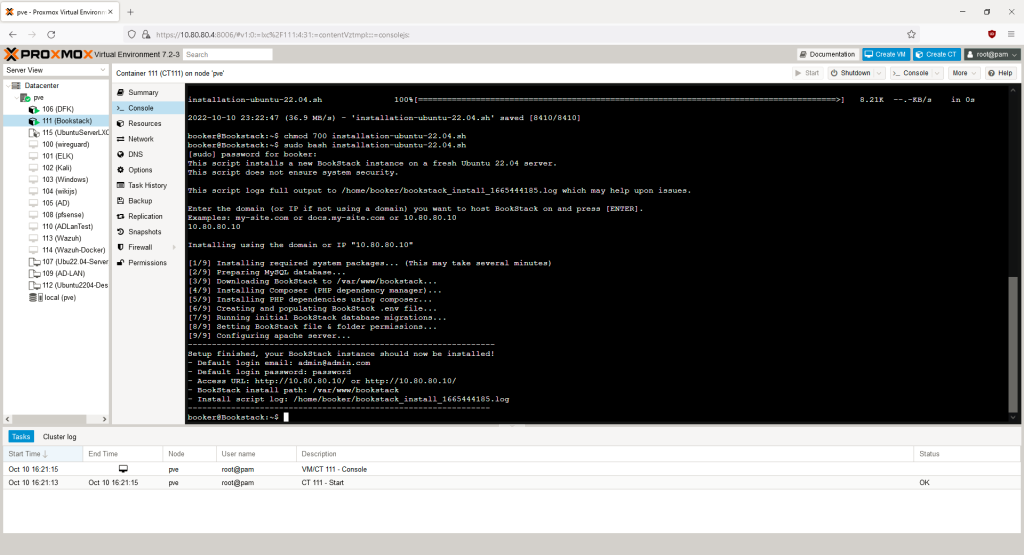
After inputting the commands, you will be asked for a domain or IP address to host Bookstack on. We are not using a domain for this machine, so use the IP address used when configuring the network for this machine. It should be the same IP provided in the output after running the script. In my case, it is 10.80.80.10. Hit enter and wait for it to finish installing.
Accessing Bookstack
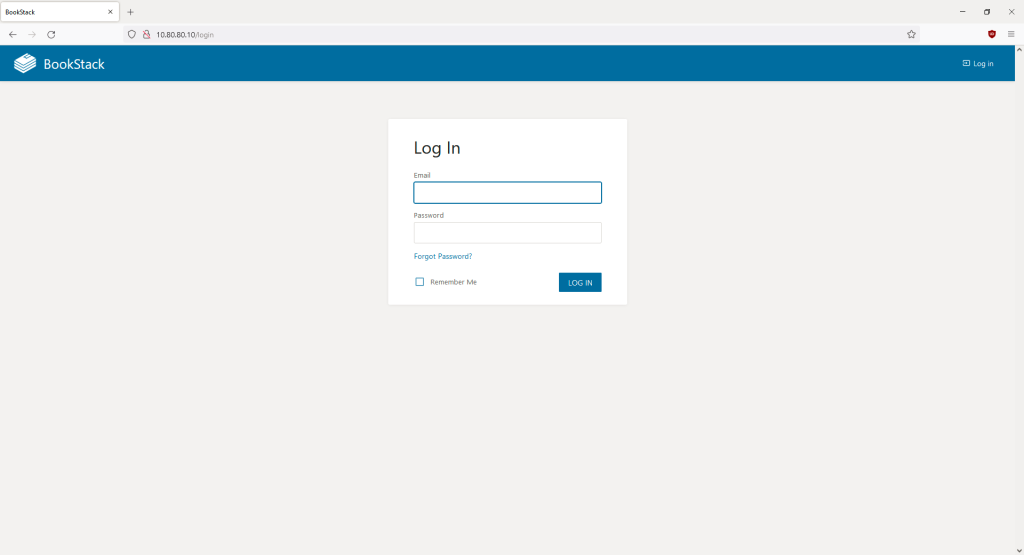
Open a browser and use the IP address of the machine to access the login page. The default credentials are admin@admin.com and password.
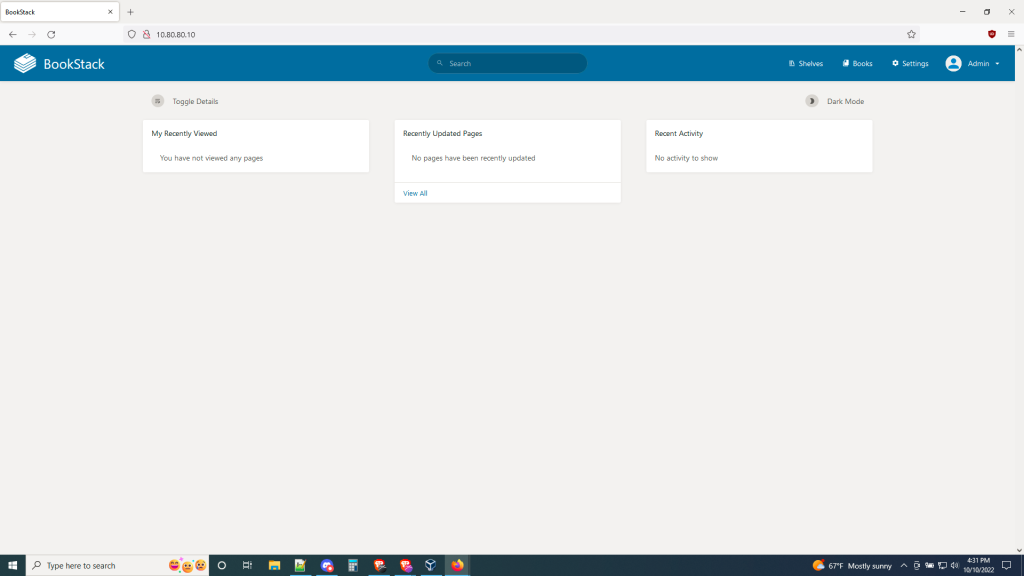
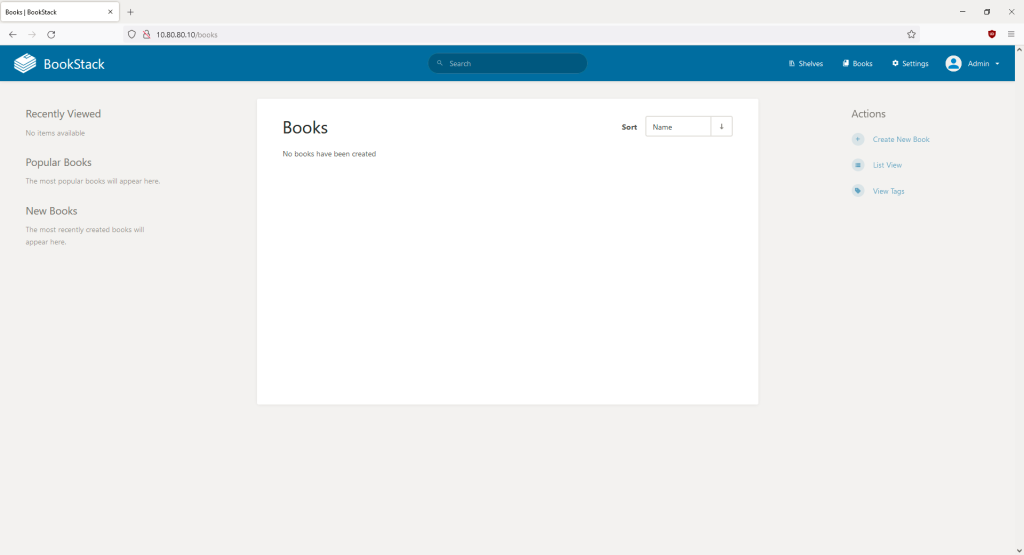
Congratulations! You now have your own personal wiki platform. As a first step, you should change your admin credentials by clicking on admin in the top-right corner. We won’t be going all of the features of Bookstack but we’ll start with creating a new book and page. On the home screen, click on “Books.” Then, on the following screen, hit “Create New Book” on the right.
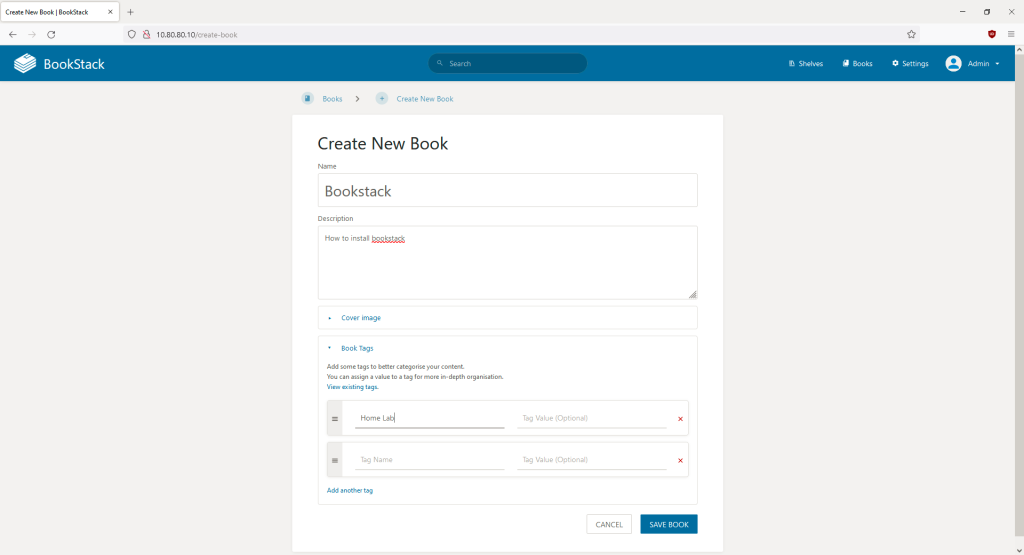
Besides a title and description, you can add cover images and tags to your books for organization.
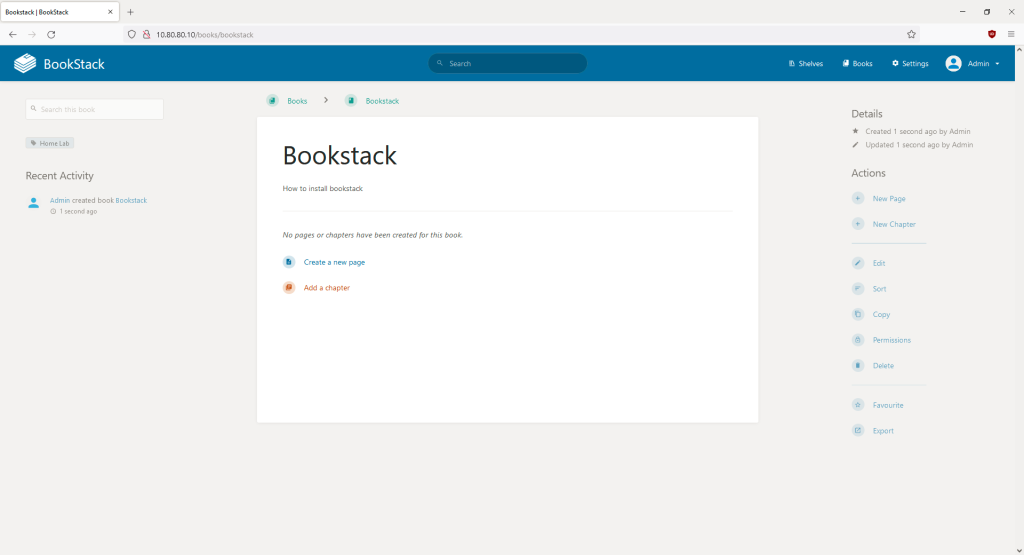
On the next screen, you see you can add a page to your new book. This is where you’ll add your content. Chapters allow you to group these pages together. For example, I can create a Security+ book with notes for the exam. Each chapter can have pages of notes based on different subjects such as encryption, hashing, or frameworks.
Bookstack offers a ton of features that are too extensive to cover in this article. The documentation can be found here: https://www.bookstackapp.com/docs/.
Thanks for reading.


