Cybersecurity Monitoring Lab – Part 1 – Installing pfSense
The goal of this project is to be on build a homelab in order to practice setting up I.T infrastructure for monitoring networks.
For the first part of this series, we’re going to install pfSense. PfSense is an open source router and firewall software solution. It comes with more features out of the box compared to a standard home router including VLAN configuration, traffic monitoring, and the ability to download plugins for additional features.
For this homelab, pfSense will be installed as a VM (virtual machine) and is going to serve as a gateway and firewall to an internal network where we will be placing out test machines. Here’s how the lab will look by the end of this series:

Setting Up the Environment
Download pfSense Iso
Download the community edition iso from the pfsense website. https://www.pfsense.org/download/
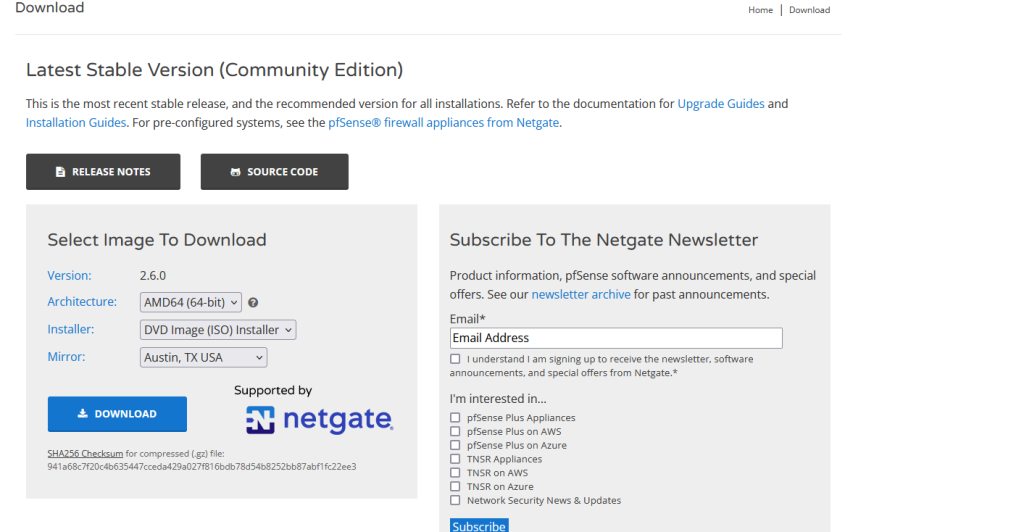
Once downloaded, you can unzip on Windows 7zip (https://www.7-zip.org/) or on linux using:
gzip -d filenamewhere filename is the name of the pfsense .gz file.

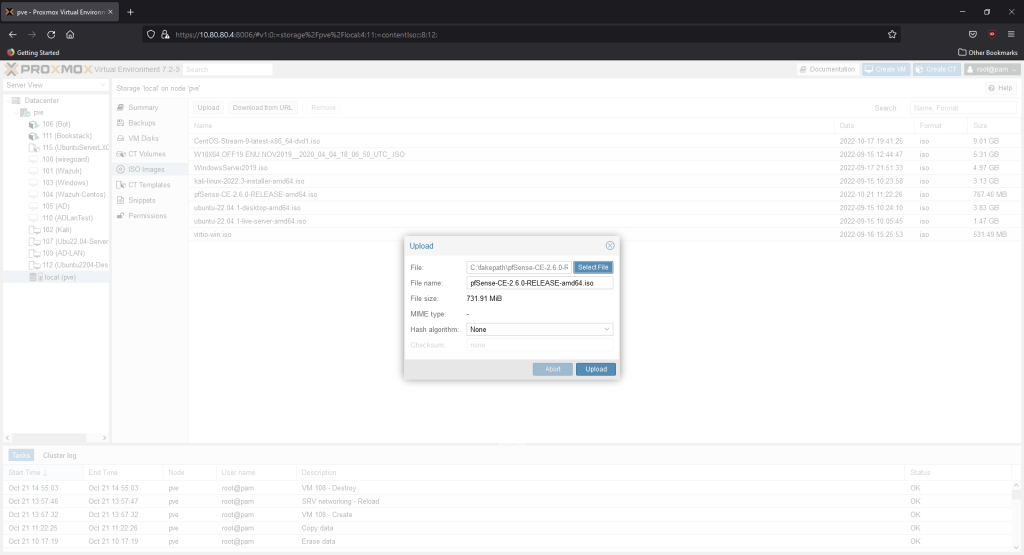
Upload the iso to your Proxmox server. Click on local (pve) on the left menu bar, click ISO images, then on the window that pops up, click select file and go the path where the iso is located. Hit upload.
Setting up Open vSwitch
Remove Linux Bridge
Rather than using the default Linux bridges, we’re going to use open vswitch instead for features needed later. One of these features is port mirroring so we can monitor the traffic of our lab networks.
If open vswitch isn’t already installed on your Proxmox server, run the command:
apt install ifupdown2 openvswitch-switch -yIn the Proxmox shell, run the following command to save the current network setting in case something goes wrong:
cp /etc/network/interfaces /etc/network/interfaces.bakNext is to remove the Linux bridge. Click on your Proxmox node, click network, then click on vmbr0. Then click “Remove.” DO NOT hit “Apply Configuration” until these next setups are completed or you will lose access to the web interface.

Switch Creation
We’re going to create two switches. One will be for our servers that we’ll access from our home/production network. The other switch will be for our internal network behind our pfSense firewall.
Make note of the name of your network device, you’re going to need it for the next step. Enp0s25 is the name of my interface.

Starting with the production switch, on your Proxmox node, click network, then create new OVS bridge.

The bridge port will be name of your physical network interface. No IP address is needed for this part. In the comment section, name it “LAN Switch” or something to differentiate from the pfSense switch we will be creating next.

Next, hit “Create,” then “OVS IntPort.” This step is to ensure we can log in to the web interface for Proxmox. The IP address and gateway will be for what is on your network.

Create another switch. Name it “pfSense Internal Switch” or some other identifier. This switch won’t have a bridge port since it is going to be attach to our pfSense firewall.

Create another OVS IntPort. This port is going to host the VLAN of the Active Director network. Include the VLAN tag in the name. The OVS bridge will be the bridge of the pfSense internal switch which in my case is vmbr1. Make sure to include the VLAN tag.

With the switches created, we’re not going to install pfSense.
Install pfSense
VM Creation
Create a new VM. Name it pfSense. Hit next.
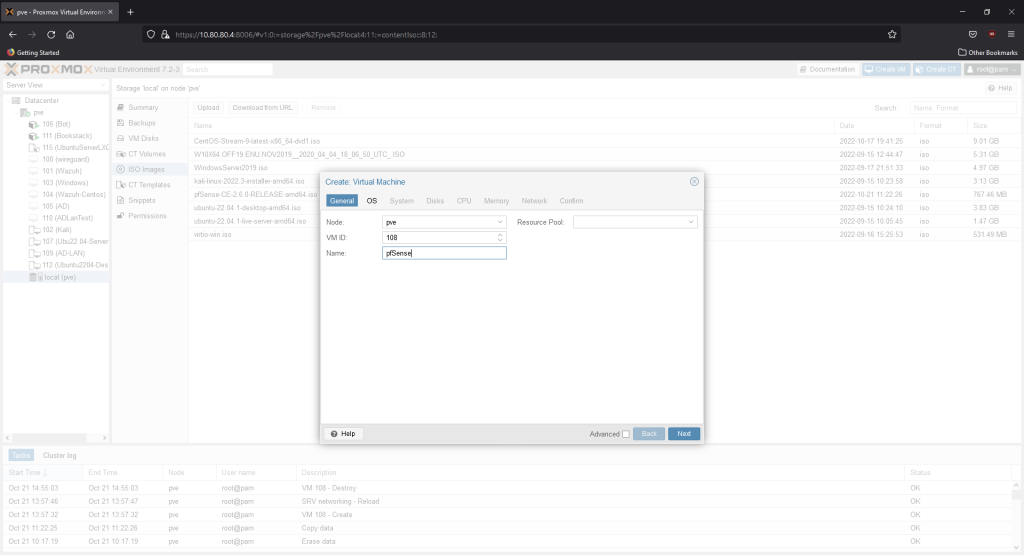
Choose the pfSense iso.
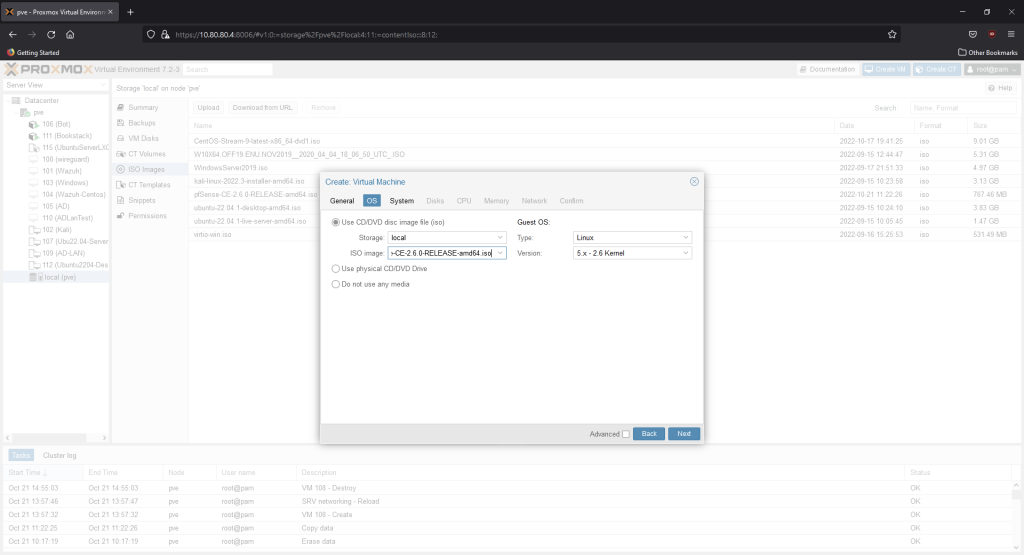
Default settings are fine.
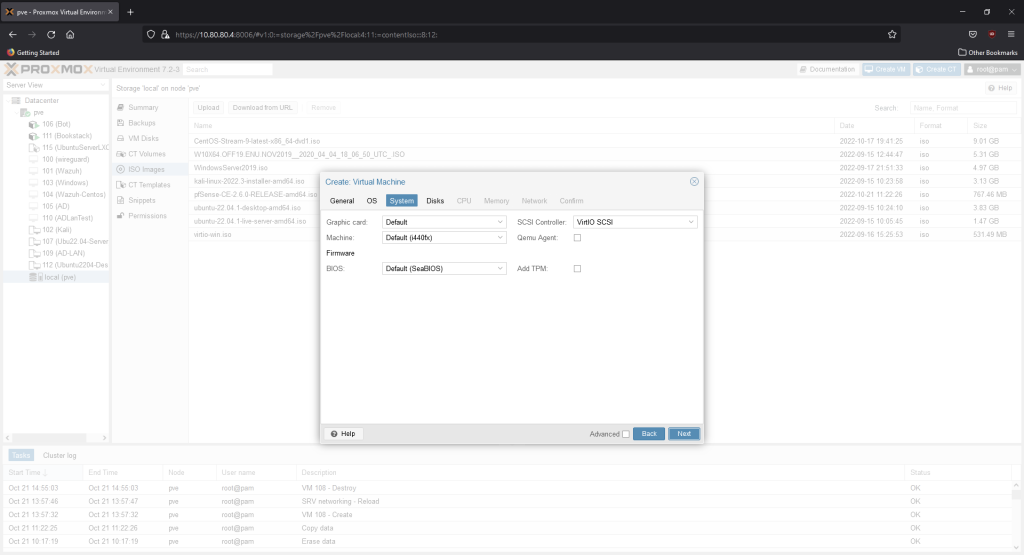
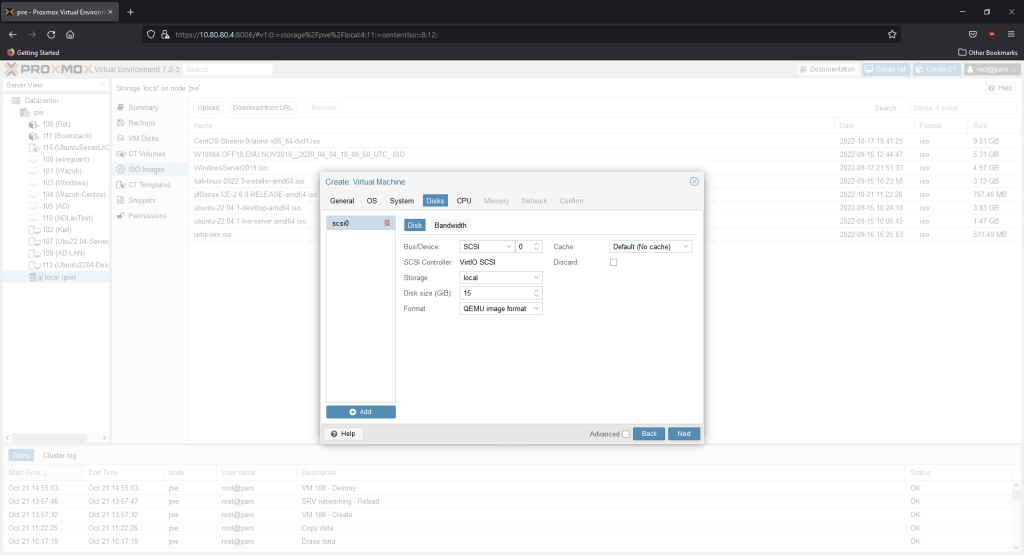
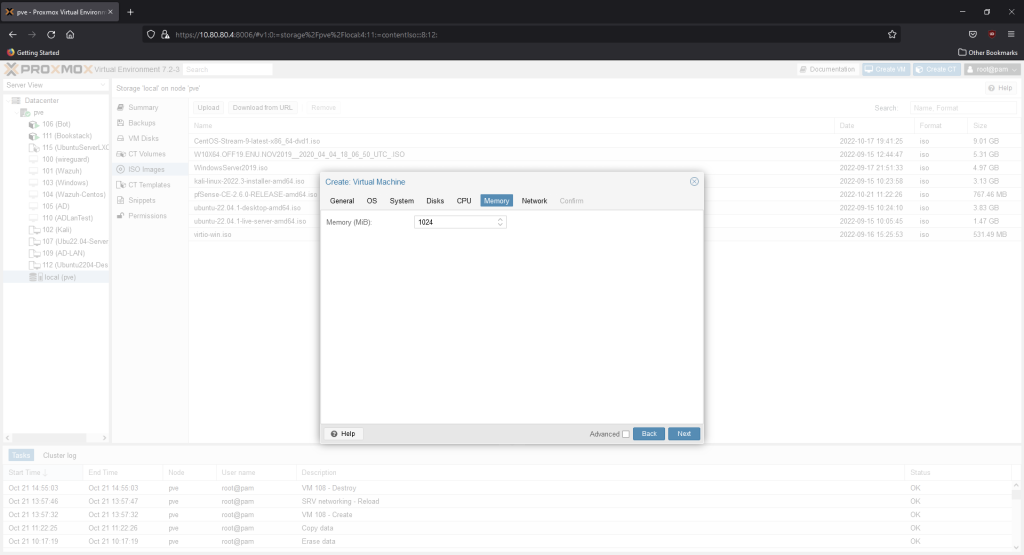
We’ll give it 15GB of memory. The minimum needed is only 8GB.
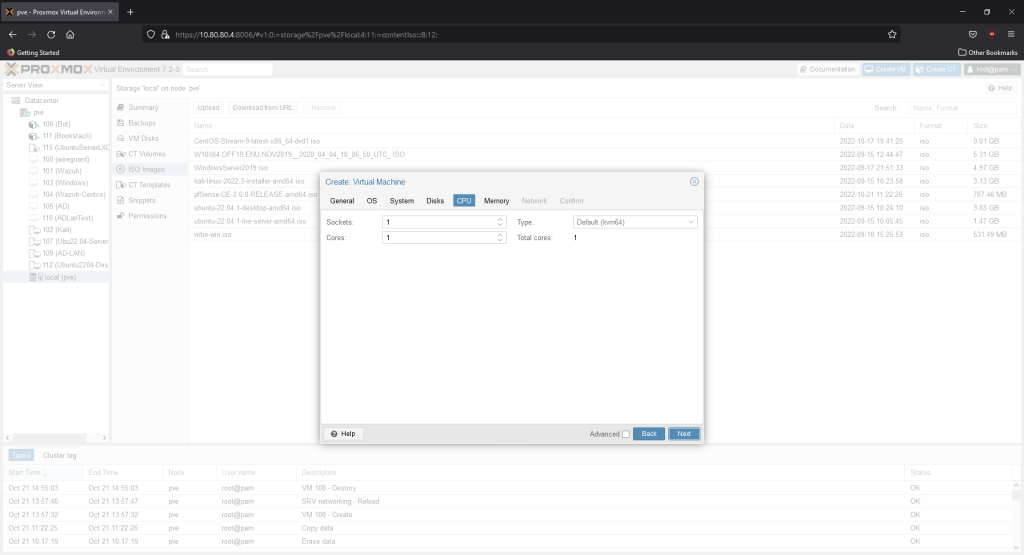
1 core is 1 GB is enough since extra plug-in/services aren’t going to be installed for now.
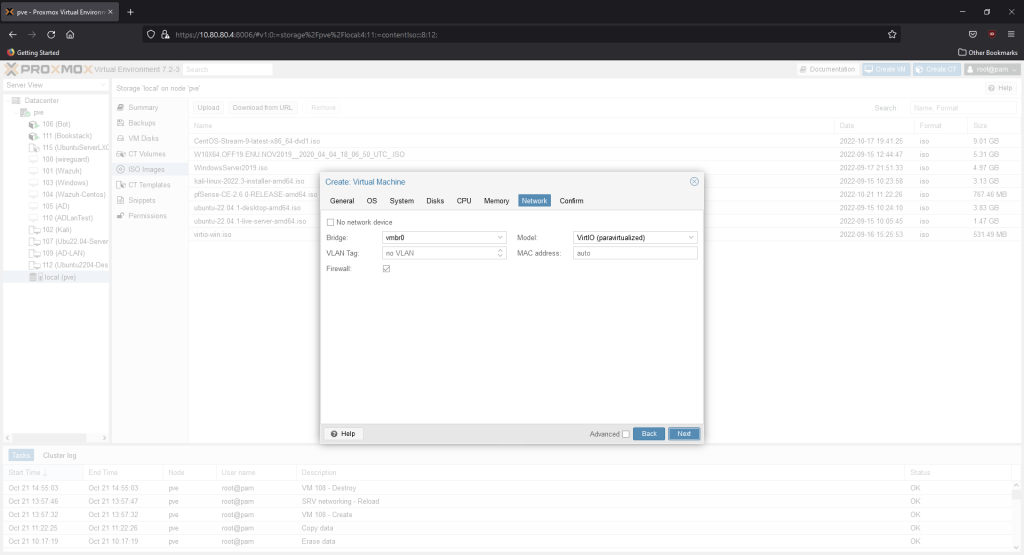
Leave the network settings as is, we’re going to modify it afterwards. Hit next, then hit finish. Make sure the “Start after created” box is not checked.
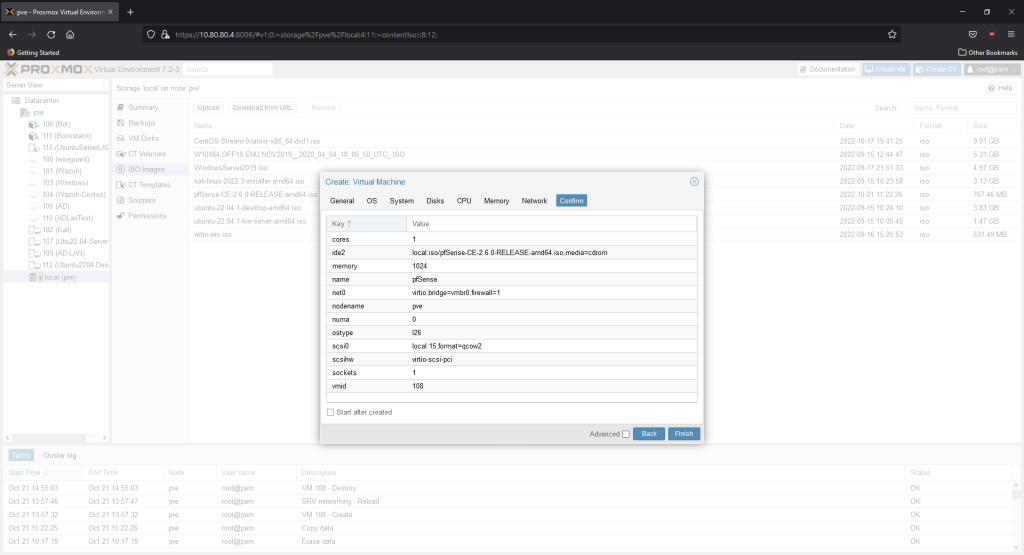
Before starting the machine, we need to attach the other switch to this machine. Click on the pfSense node, then hardware.

Select the other network interface, vmbr1, as the bridge. Now our pfSense firewall is attached to both our internal home network so it can receive an IP address from our home router and the internal switch so it can act the router for the lab network.

Before we start, take a snapshot of our machine. Select “Snapshots”, the “Take Snapshot.” Name it something descriptive.
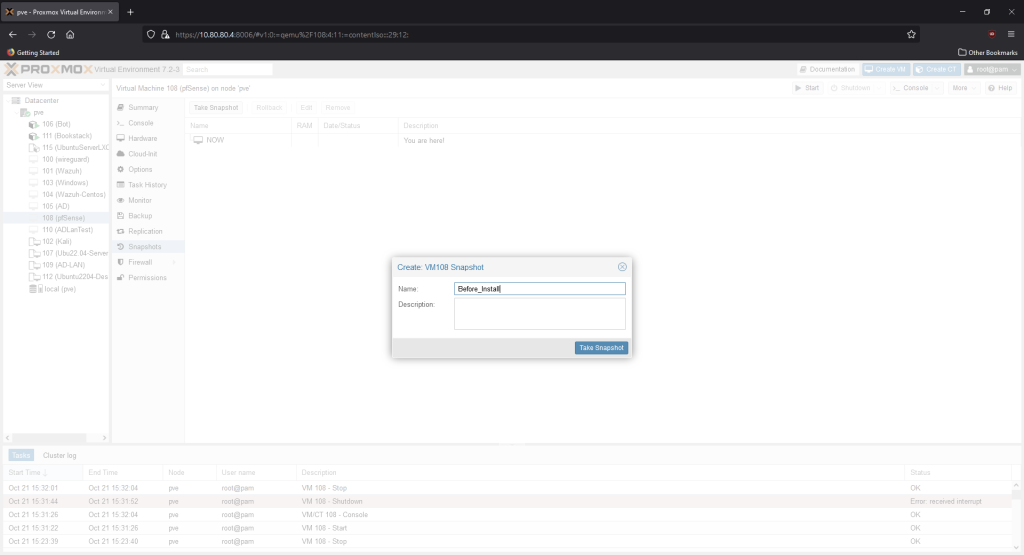
Now, we can start our machine. Select “Console”, then select “Start.” Wait for the installation prompts.
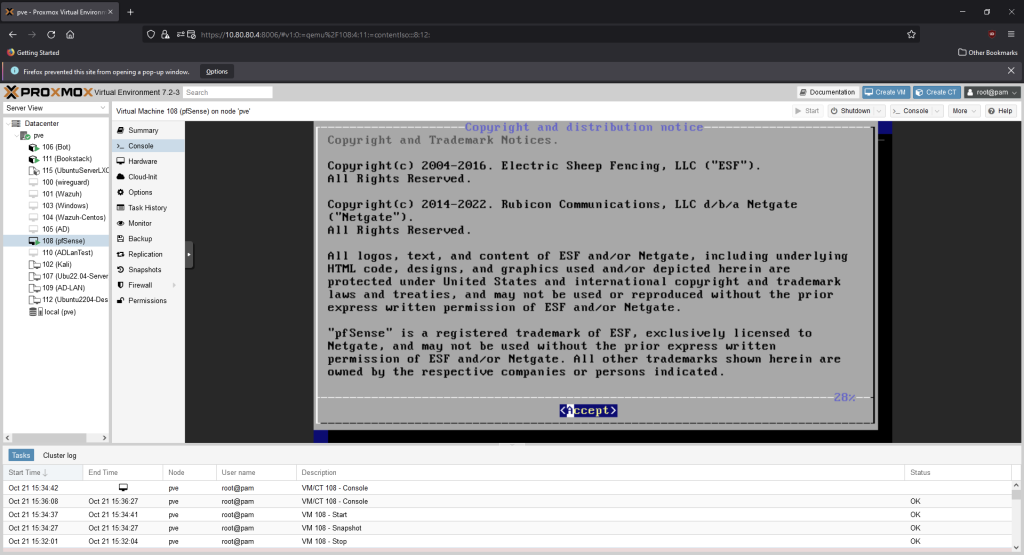
Click “Accept.”
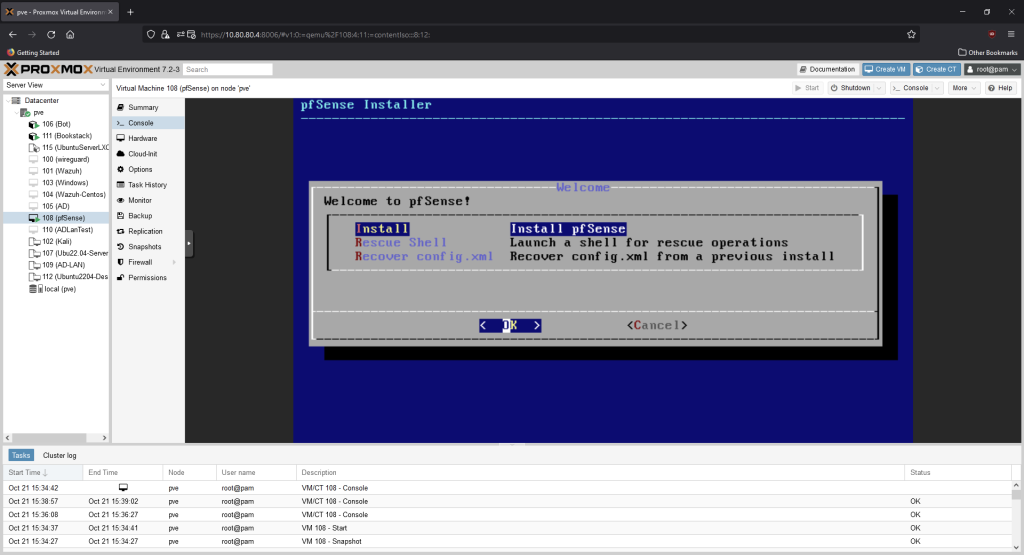
Make sure Install pfSense is highlighted, then hit OK.
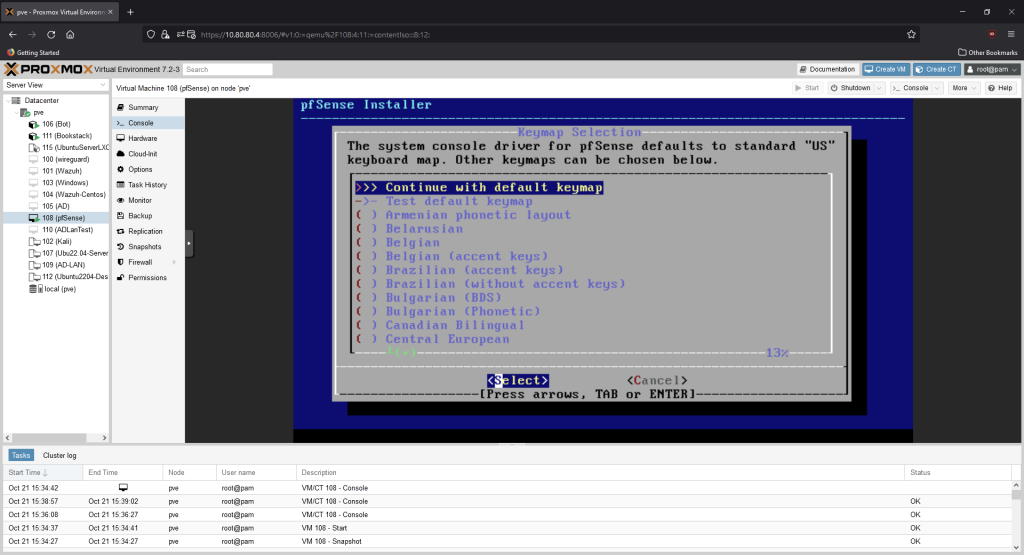
Leave the keymap as default if it doesn’t need to be changed.
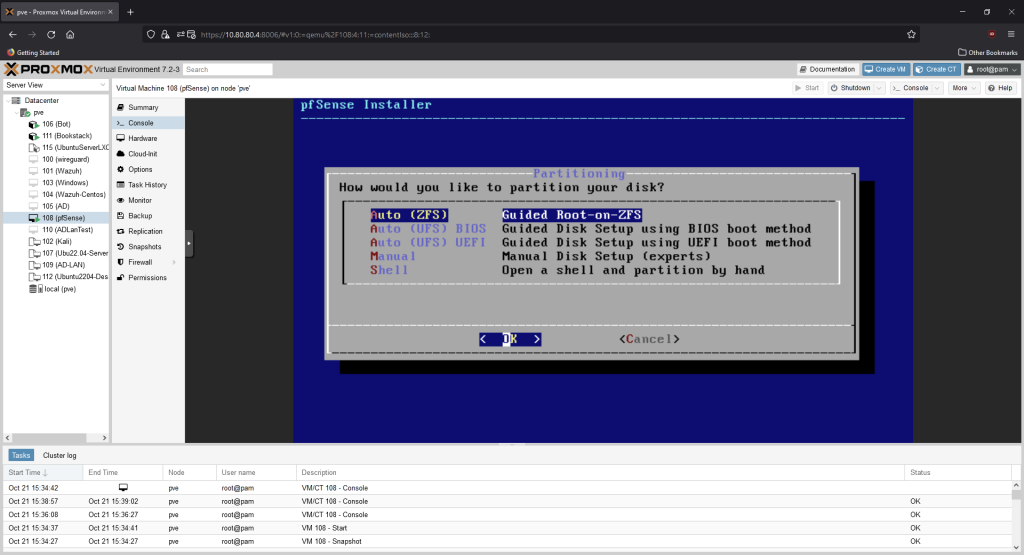
Choose Auto (ZFS).
Choose Install.
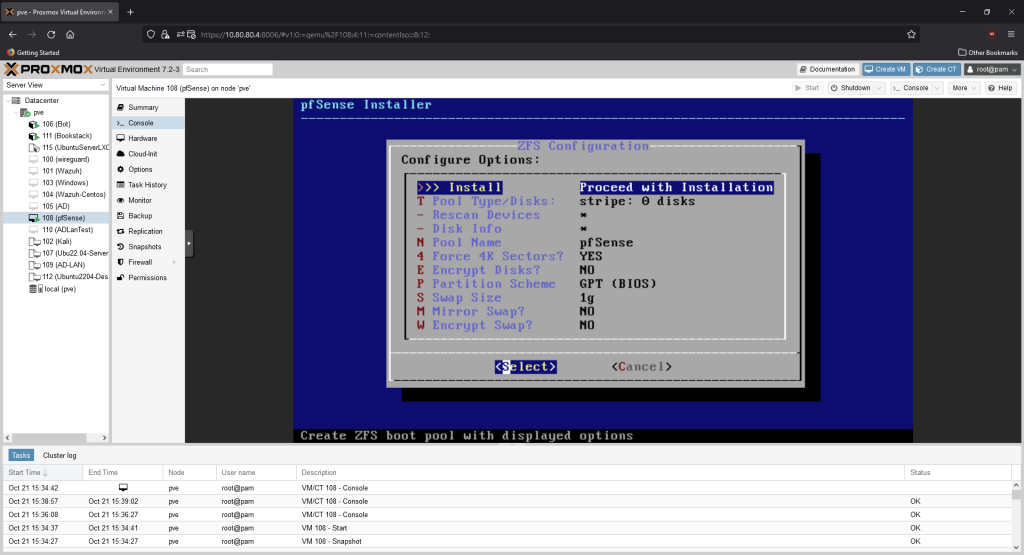
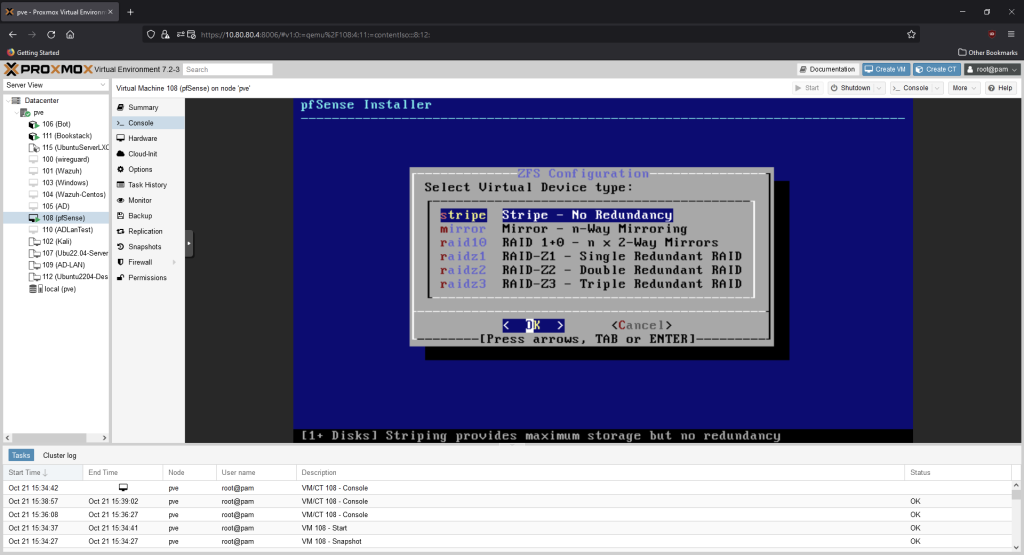
Choose stripe, we’re not optimizing for performance or redundancy for this machine.
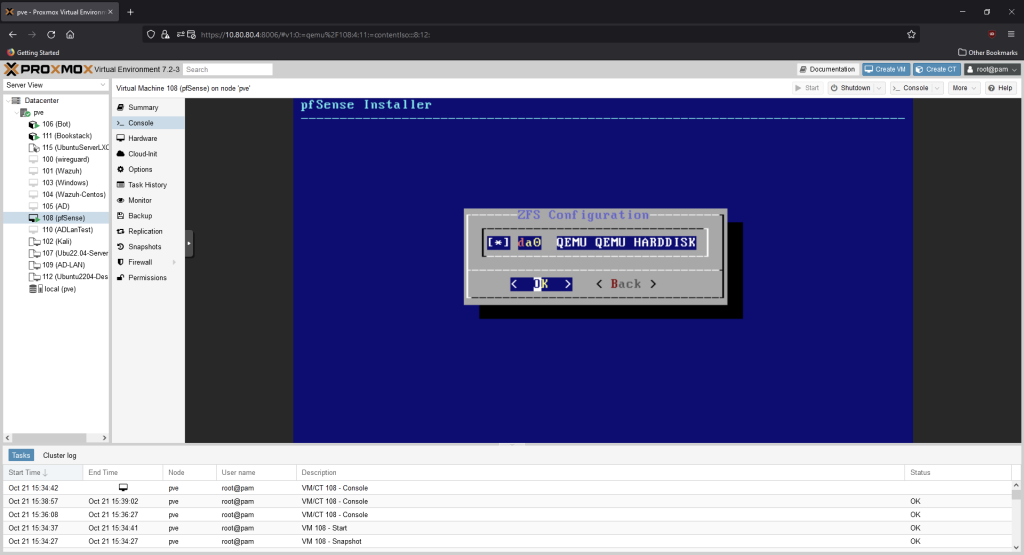
Press the space key to select the disk, then press enter.
Hit the left arrow key to highlight “yes”, then press enter to start the installation.
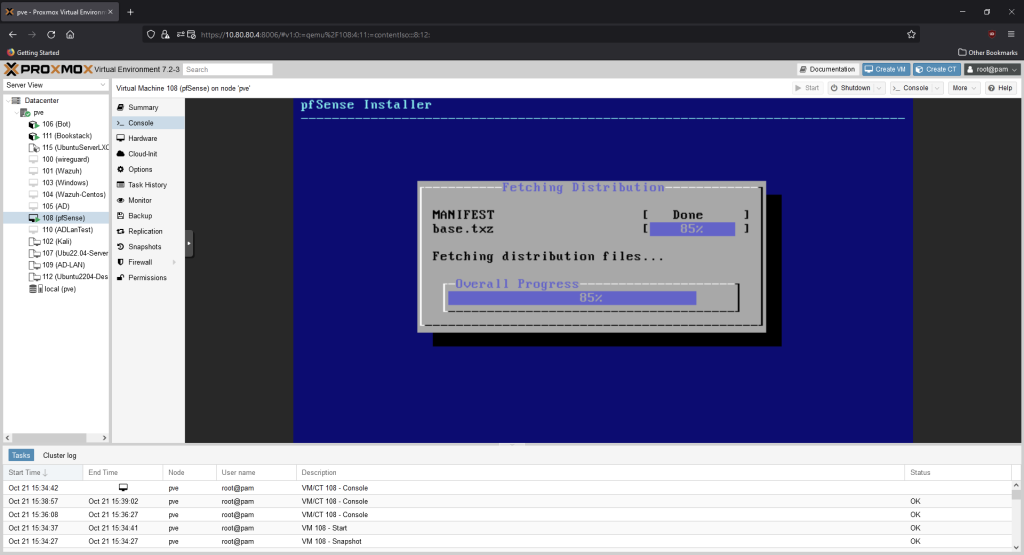
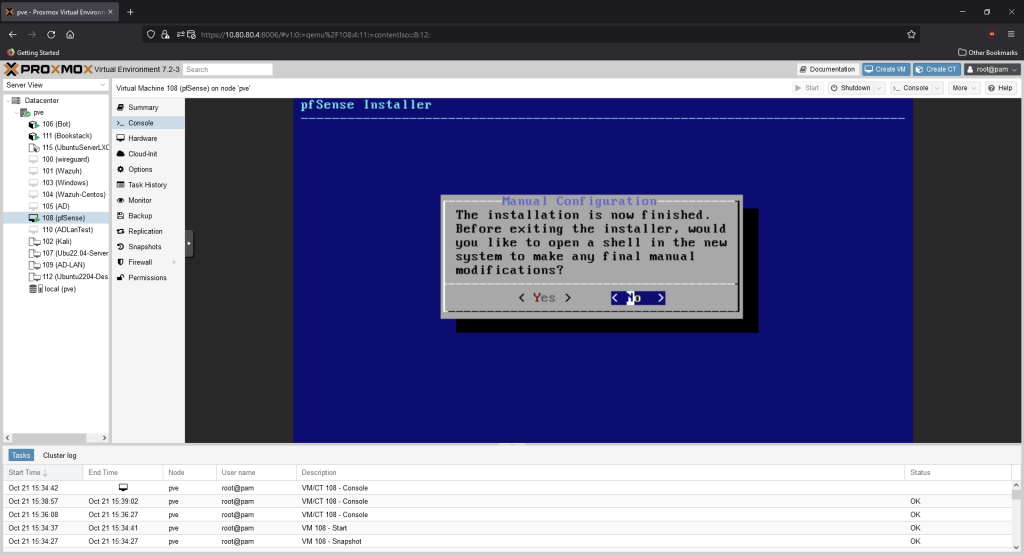
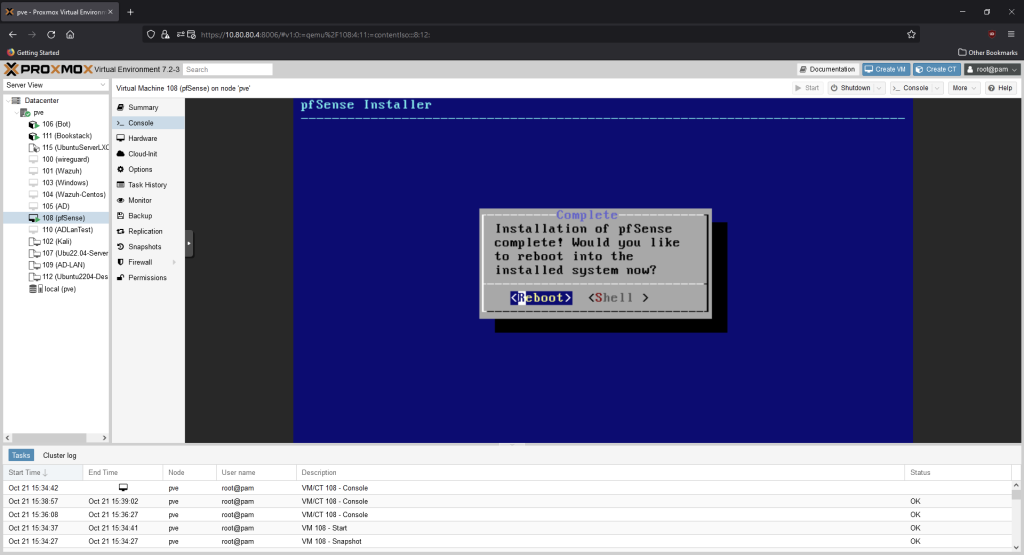
Select “No’ on the next screen asking for final manual changes. On the next screen, select “Reboot.”
Configure Interfaces
Set VLANs
When the machine starts up, it will ask to configure VLANs. Type “y”, then enter.

Next, you will be asked to enter parent interface of the VLAN. Type “vtnet1.” The VLAN tag is 100.

Press “enter” when asked to enter another VLAN. Type in “vtnet0” for the WAN interface.

Enter “vtnet1” as the LAN interface.

Enter vtnet1.100 as the optional interface. Type “y” to confirm the interface assignments.


Assign IP Address Ranges
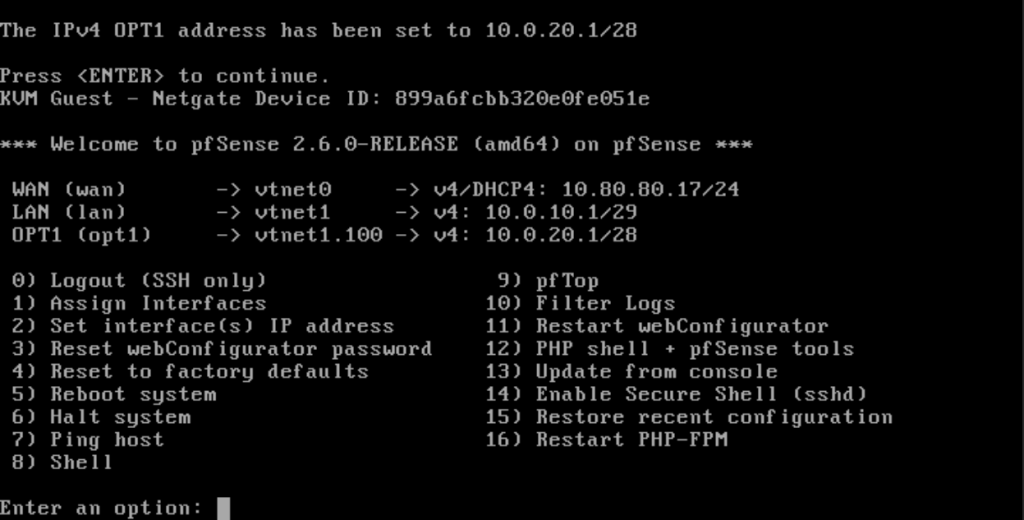
After pfSense finishes initializing, type in “2” to start assigning the IP address ranges to our interaces.

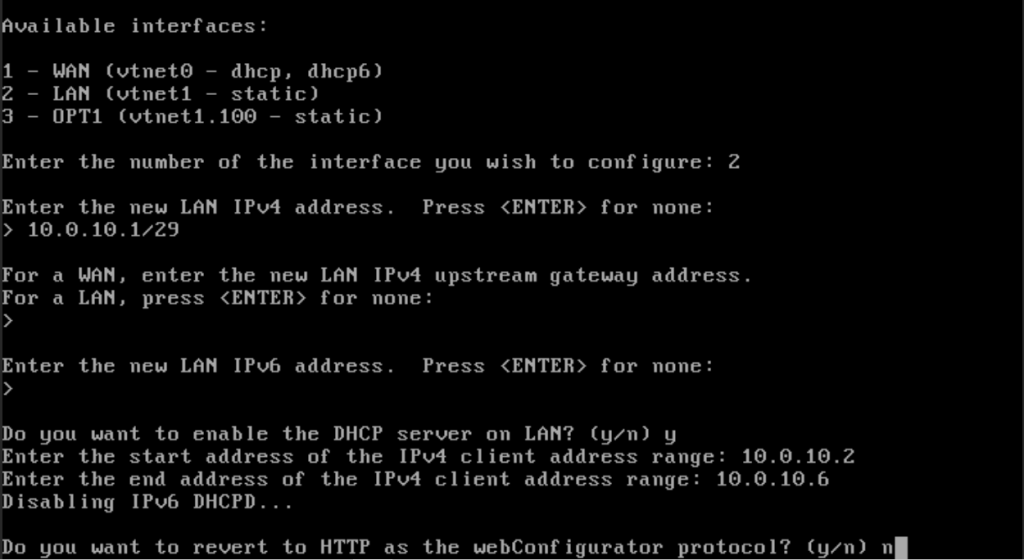
Enter 10.0.10.1/29 as the IP address. Type enter for the IPv6 address (leave blank). Type “y” for the DHCP server. The address range will be 10.0.10.2 to 10.0.10.6. Type “n” for reverting to HTTP. Press “enter” to finish configuring this interface.
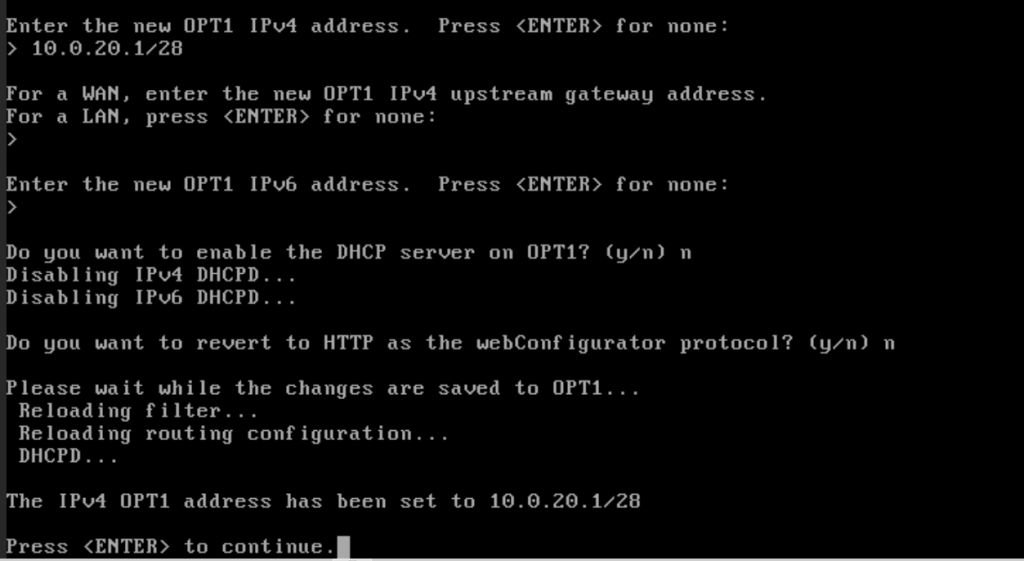
Back at the main menu, type “2” again. Type 3 to configure the OPT1 interface. The OPT1 IPv4 address is 10.0.20.1/28. Hit “enter” for the upstream gateway and IPv6 address. Type “n” for DHCP server. On this network, our domain controller will be the DHCP server. Press enter when done.
And with that, pfSense is installed. In next part, we’ll access the pfSense web interface to configure the firewall rules and make other adjustments.
