In this part of setting up our homelab, we’re going to define the firewall rules for our networks in pfSense.
Logging in to pfSense
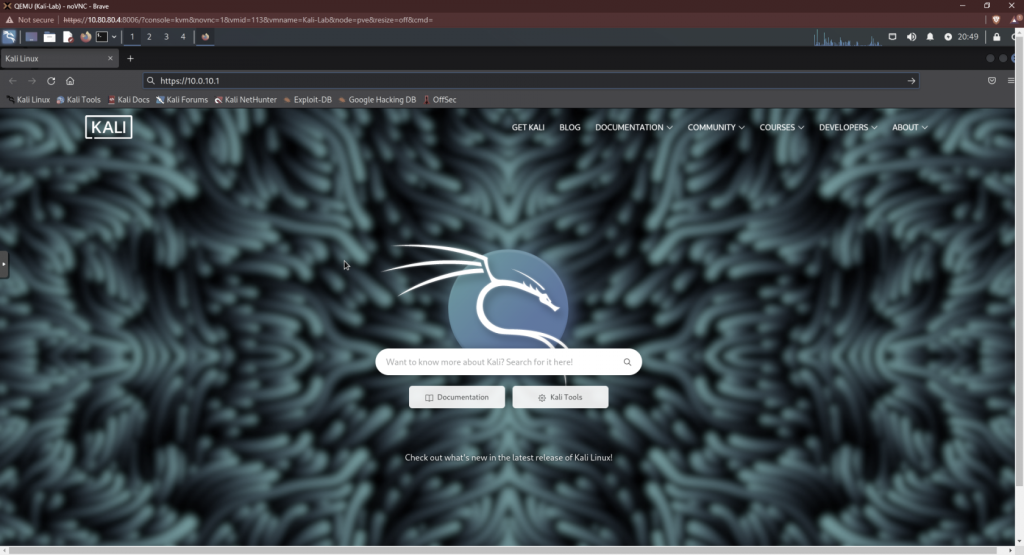
Open firefox on your Kali machine and enter the IP address of the pfSense interface. Recall that this IP address is the gateway address for the LAN interface of our pfSense router, 10.0.10.1.

Alternatively, you can log in to pfSense from the WAN interface. In the pfSense machine, type “8” to enter the shell. Then enter the following command to disable the shell:
pfclt -dWhen finished configuring the firewall, remember to re-enable the firewall with:
pfctl -e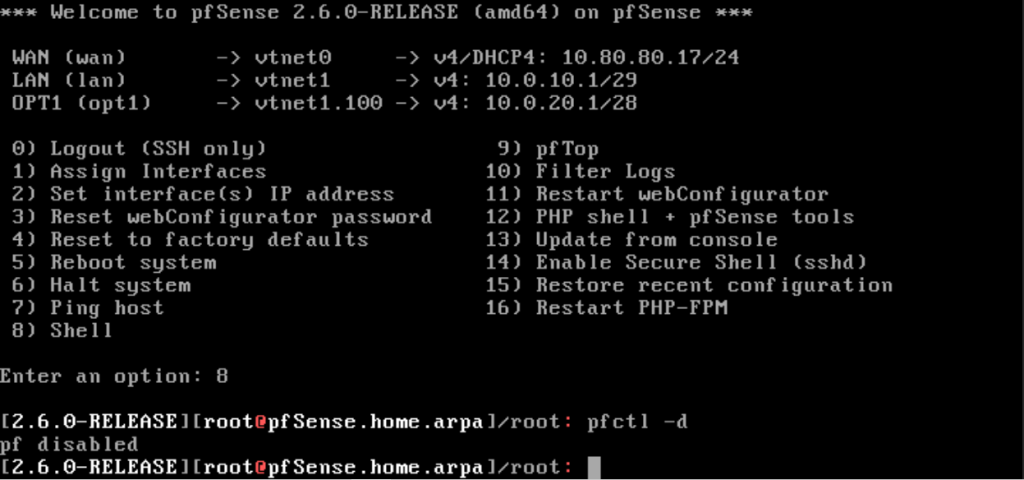
To log in to pfSense from the WAN interface, you’ll enter the IP of vtnet0. In my case, it is 10.80.80.17. For this tutorial, I’m going to used the Kali machine installed on the LAN interface.
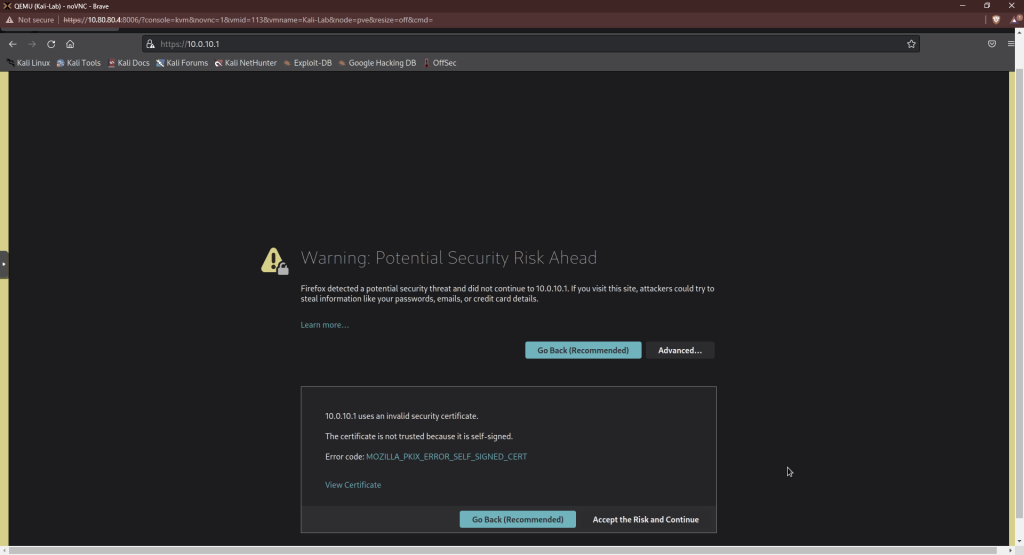
You’re going to get a warning because the certificate for this site is self-signed. Click “Accept the Risk and Continue.”
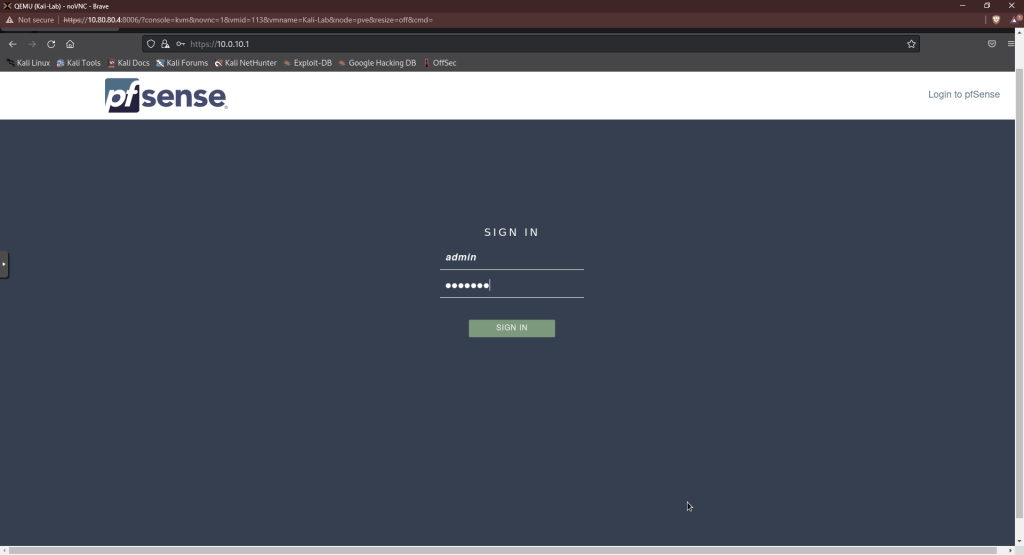
The default credentials are “admin” for the username and “pfsense” for the password.
Initial Setup
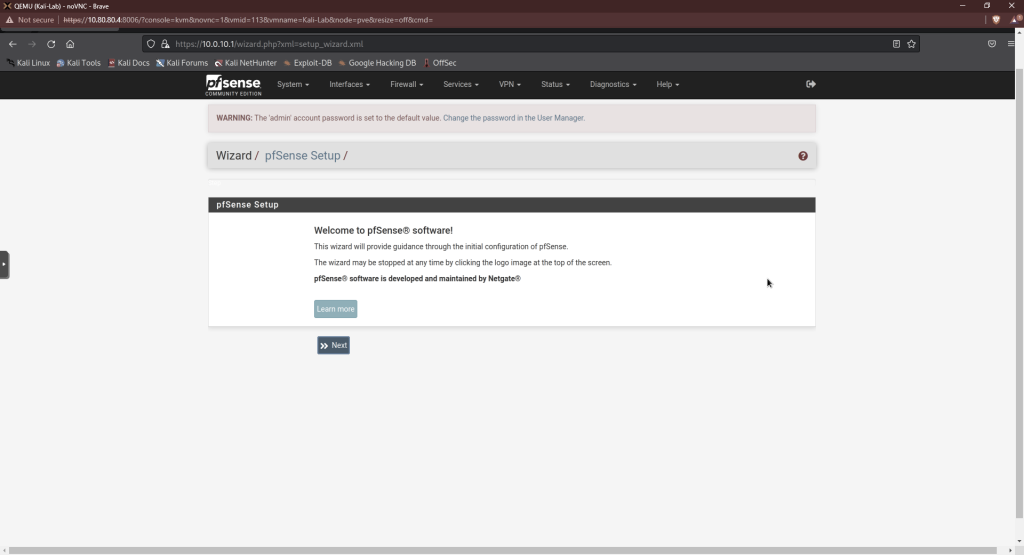
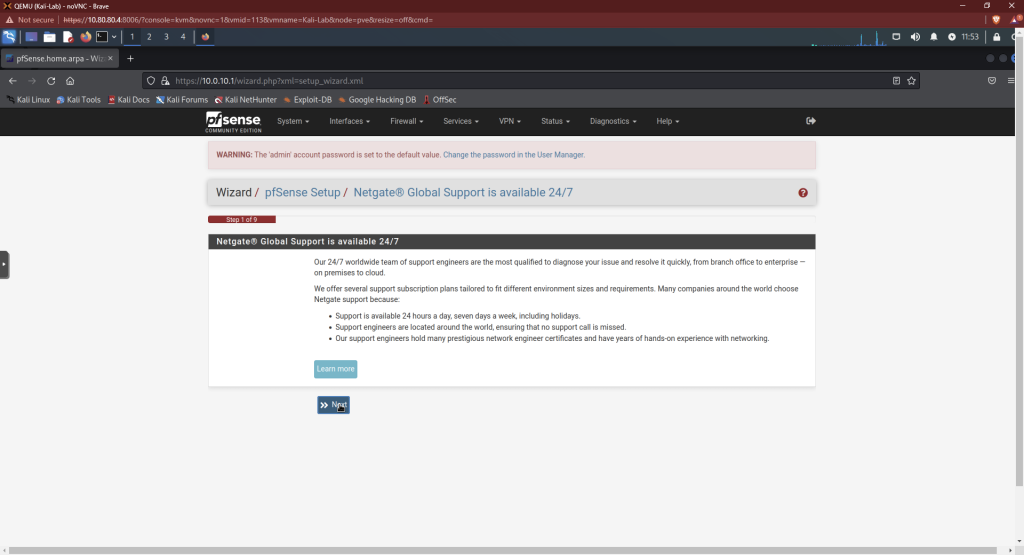
The next screen will be the wizard for the initial configuration of pfSense. Click next.
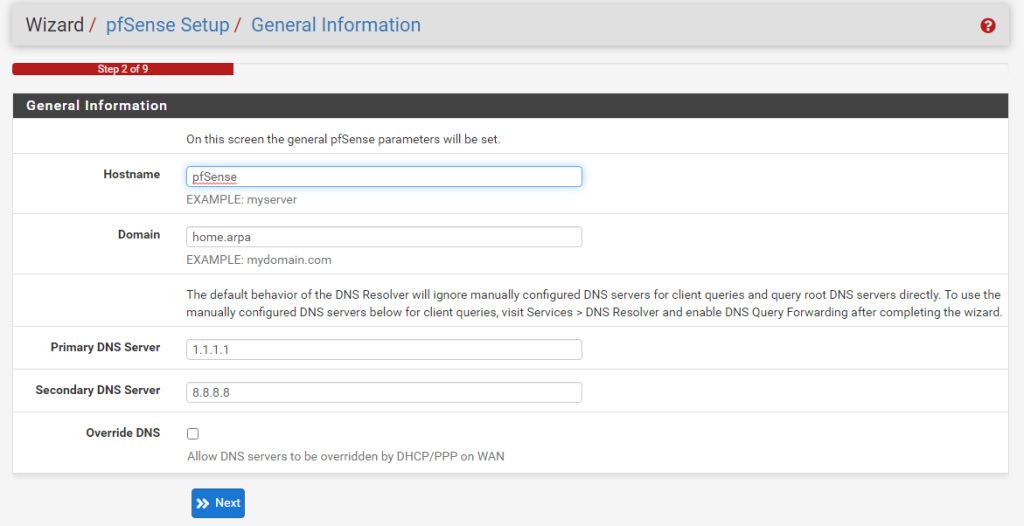
I’m using Cloudflare’s DNS server (1.1.1.1) as my primary server and Google’s (8.8.8.8) as my backup. Click “Override DSN” if you want to use your home router’s DNS servers instead.
Choose your timezone.

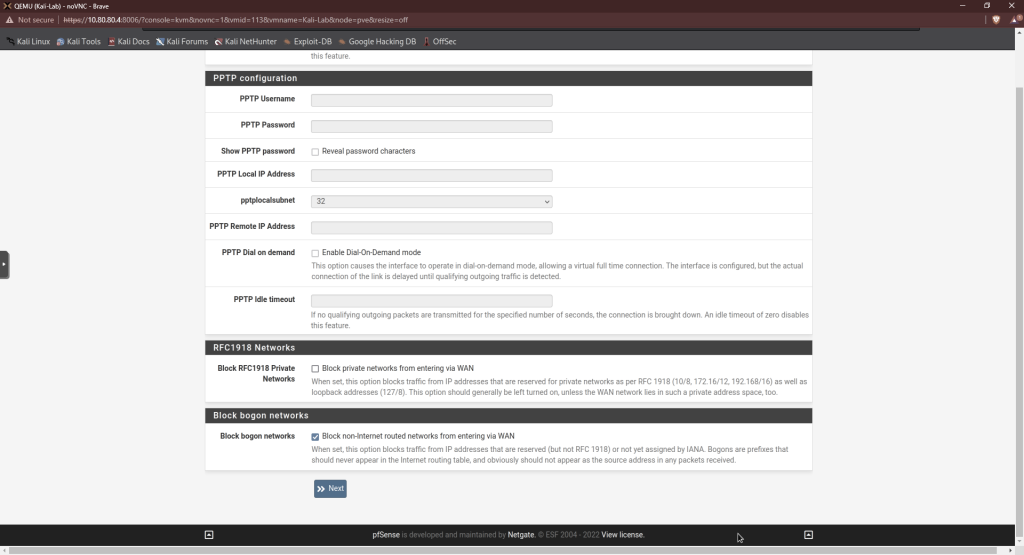
On step 4, uncheck the “Block private networks from entering via WAN” since our WAN interface is our internal home network. and not the internet We’ll let some devices on this network communicate with this lab network,.
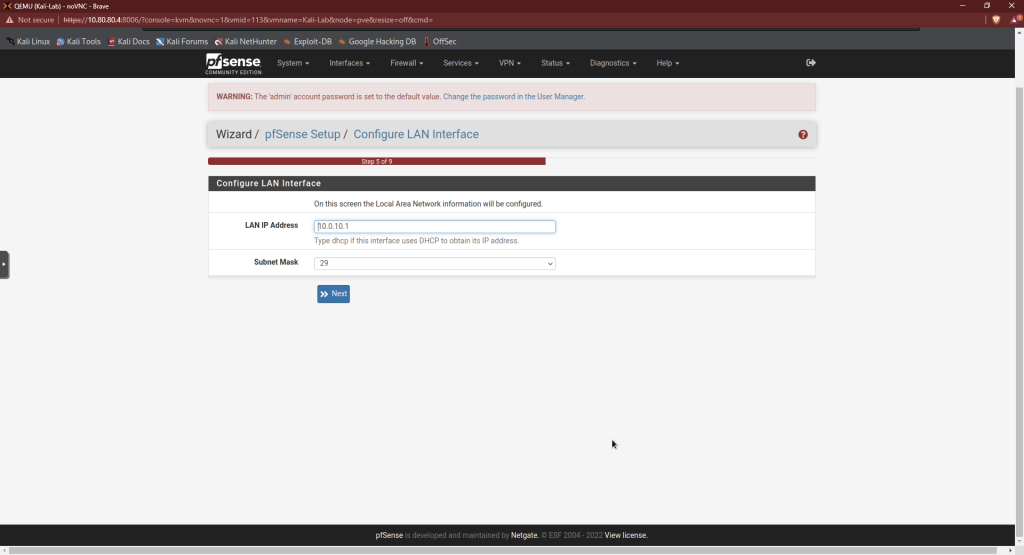
Step 5 should not need any changes as it should be the same subnet from when first installing pfSense.
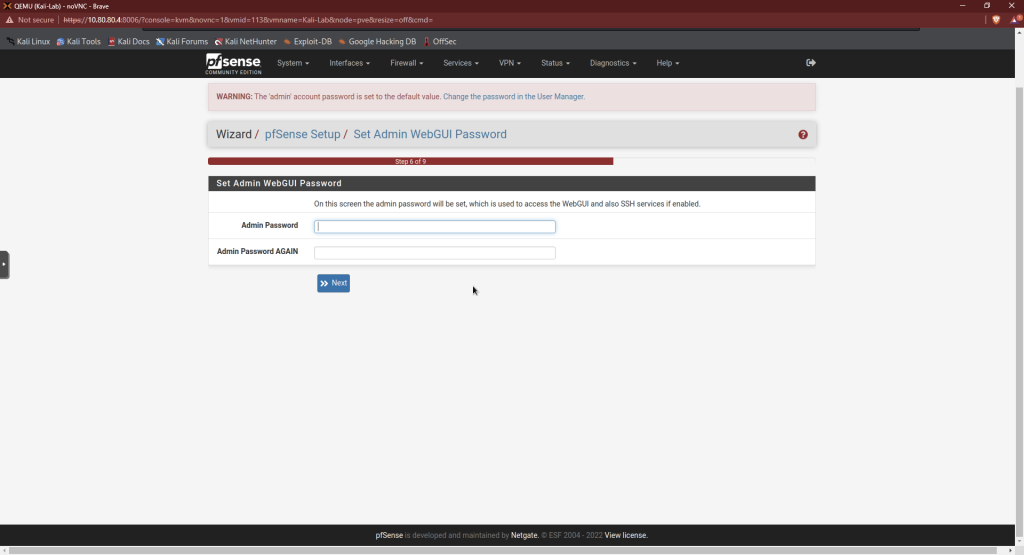
Set a new admin password for step 6.
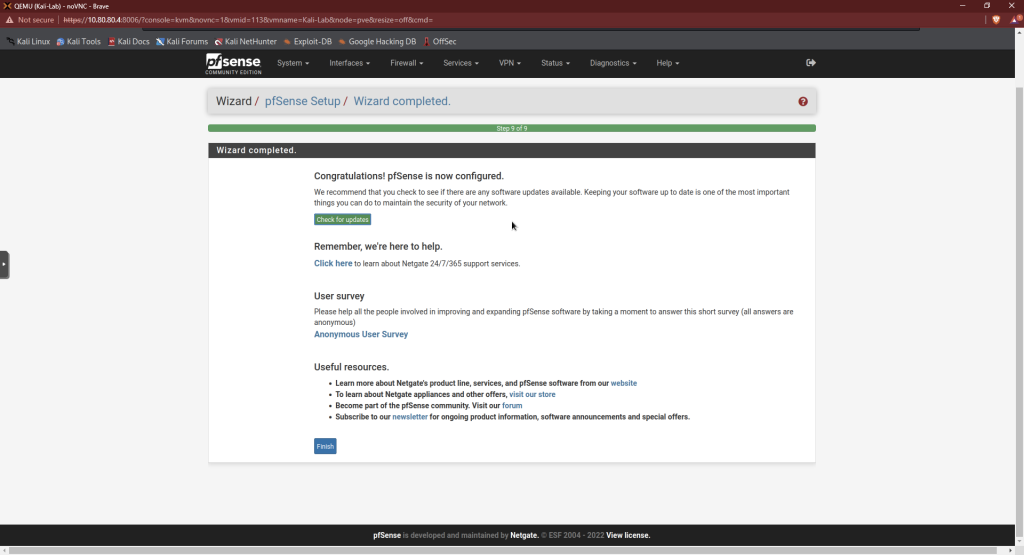
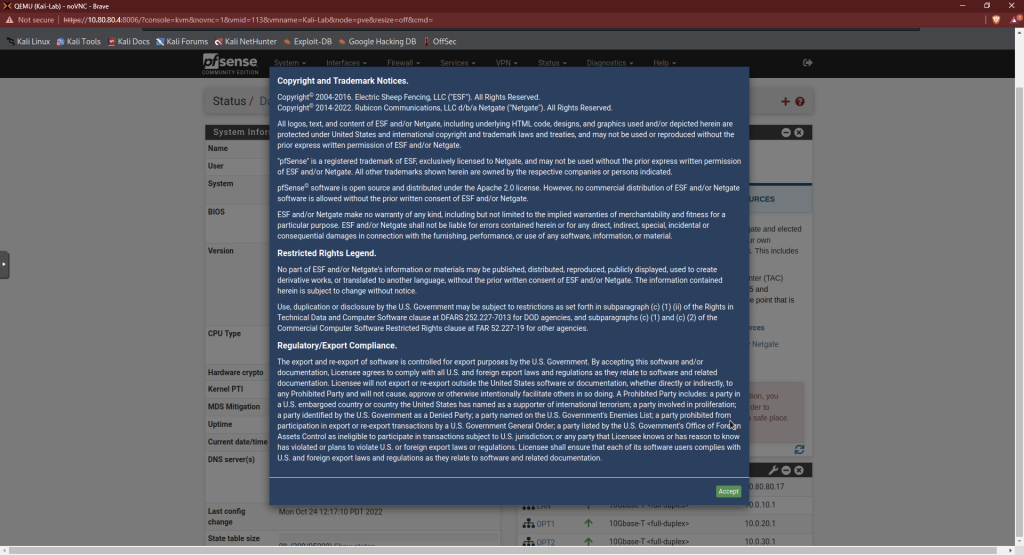
Click reload and then click finish on the following screen. Accept the license agreement that pops up afterwards.
Create New Admin Account
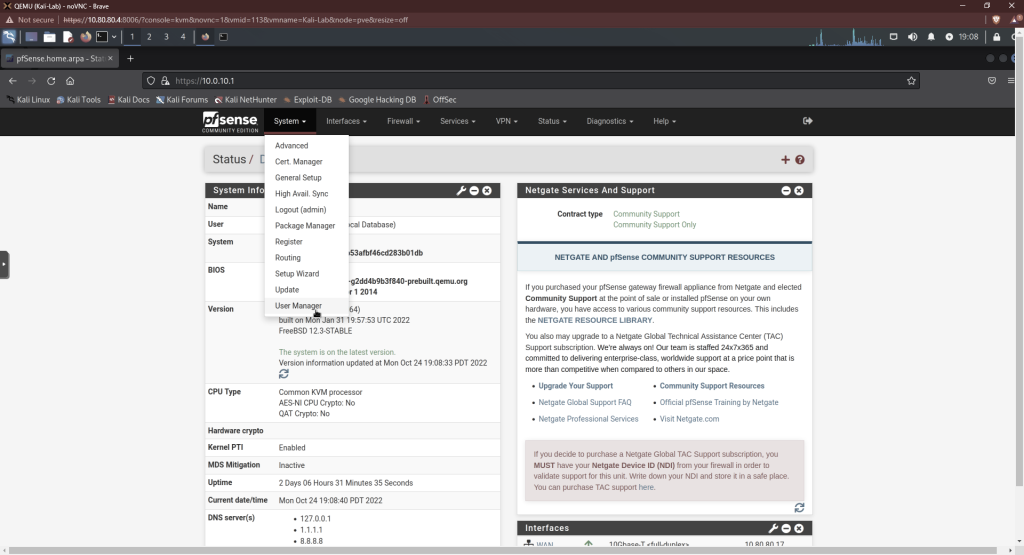
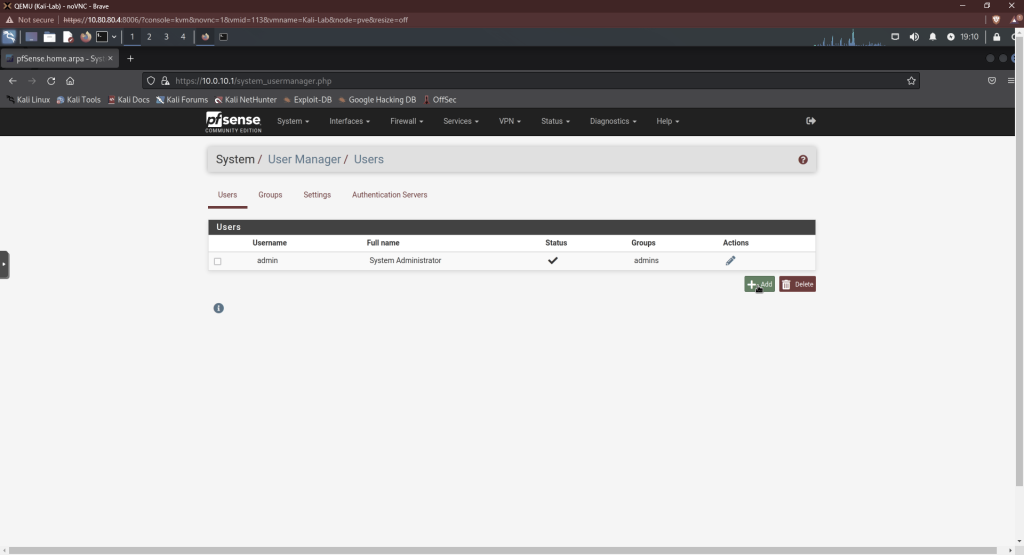
Next, we’re going to create a new admin account and disable the default one. On the top menu bar, click “System” then “User Manager.”
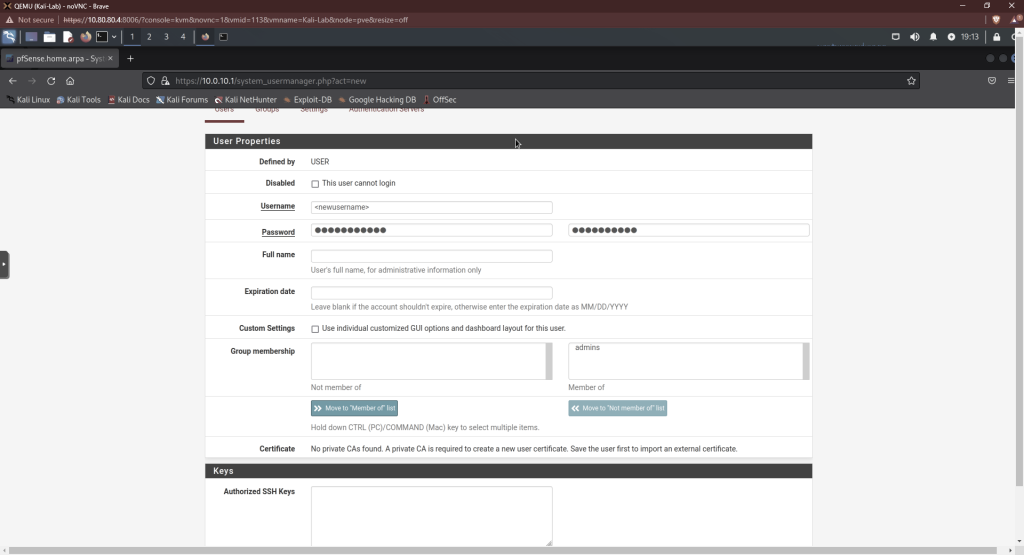
Click “Add”. Enter a username and password. Under group membership, move admins over to the member of side. Click save.
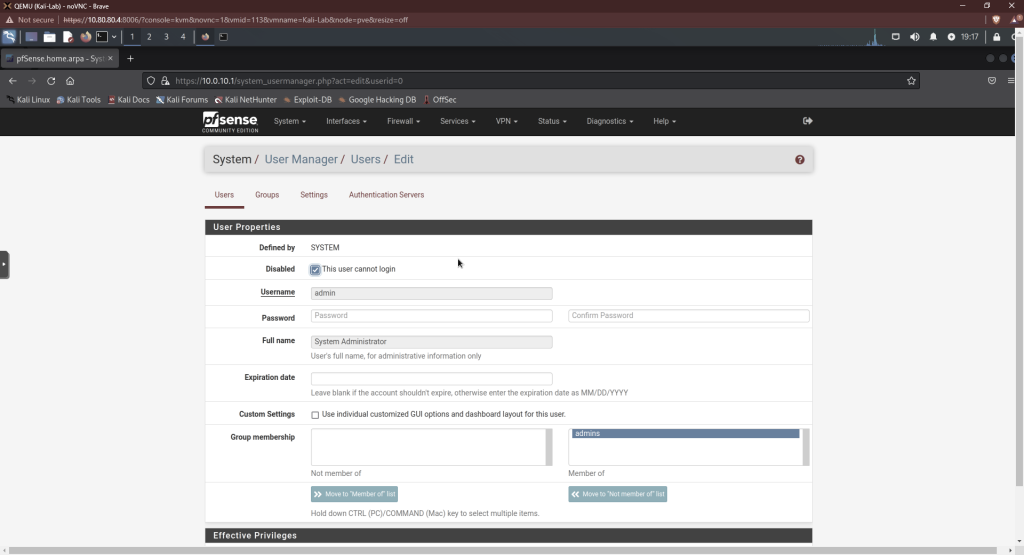
Now, we’re going to disable the admin account. Click on the pencil next to the admin account.
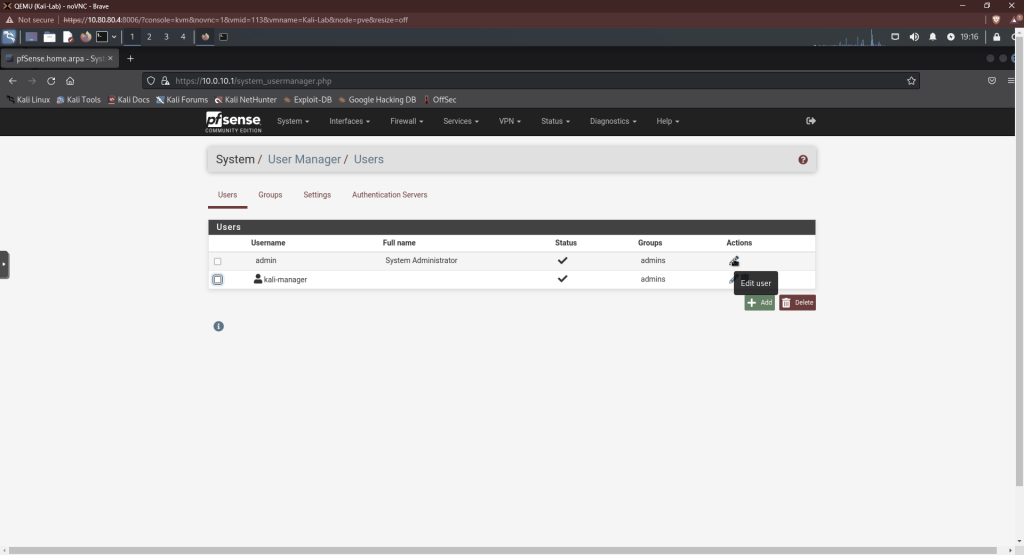
On the next screen, click the box to disable logins. Then save.
Label Interfaces
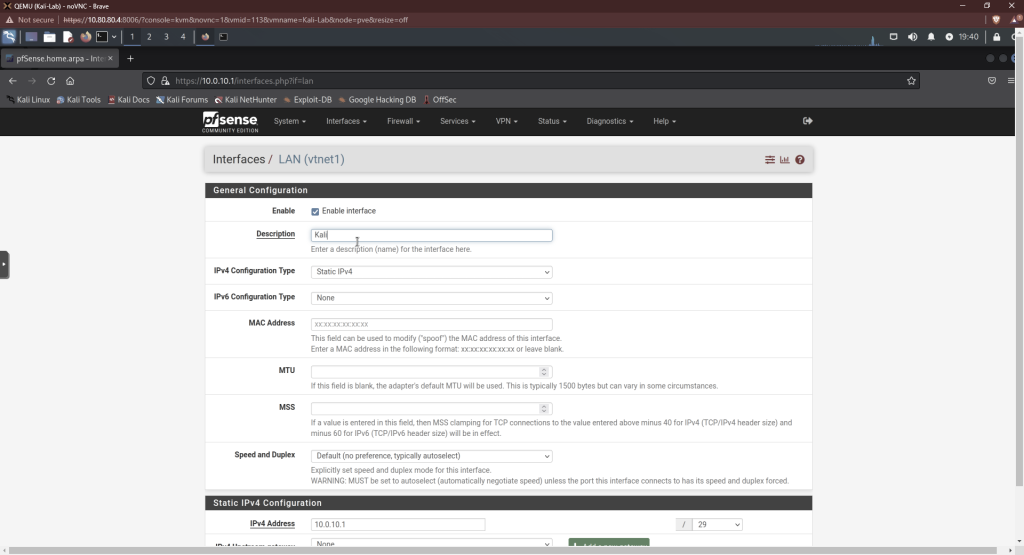
Next, we’re going to label our interface. On the menu-bar, click interfaces, then LAN. Change LAN to Kali. Then click save.
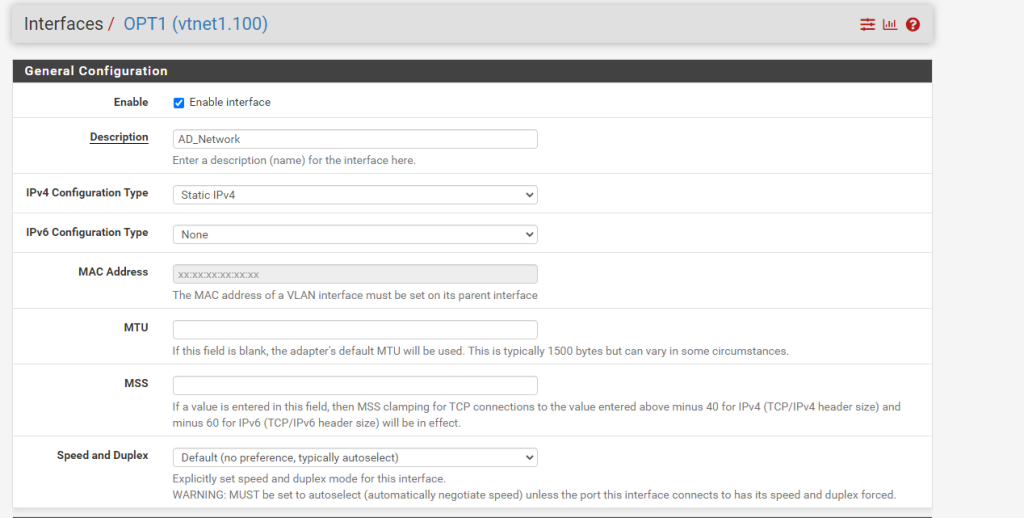
Repeat this process for the OPT1 interface.
Create Aliases
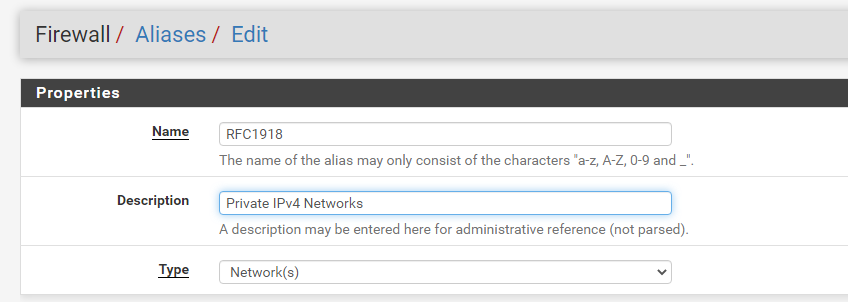
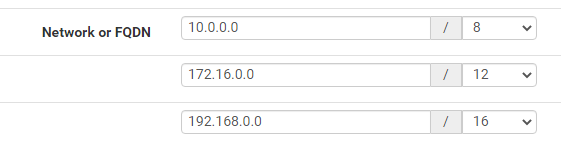
We’re going to create an alias for RFC1918 private networks. This alias will be used in some firewall rules to reference the private address space in later steps.
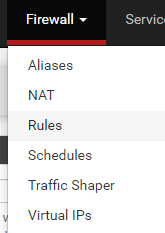
Click firewall, then aliases, then hit the “Add” button.
Type in a description and IP ranges shown. Then save.
Firewall Rules
WAN Firewall Rules
We want the following rules for our WAN interface:
- Allow devices on the WAN to access the router.
- Allow devices on the WAN to access the Kali/LAN network for ssh or remote desktop access.
- Block access from the WAN to the AD network.
Make sure the WAN tab is highlighted, then press “Add.”

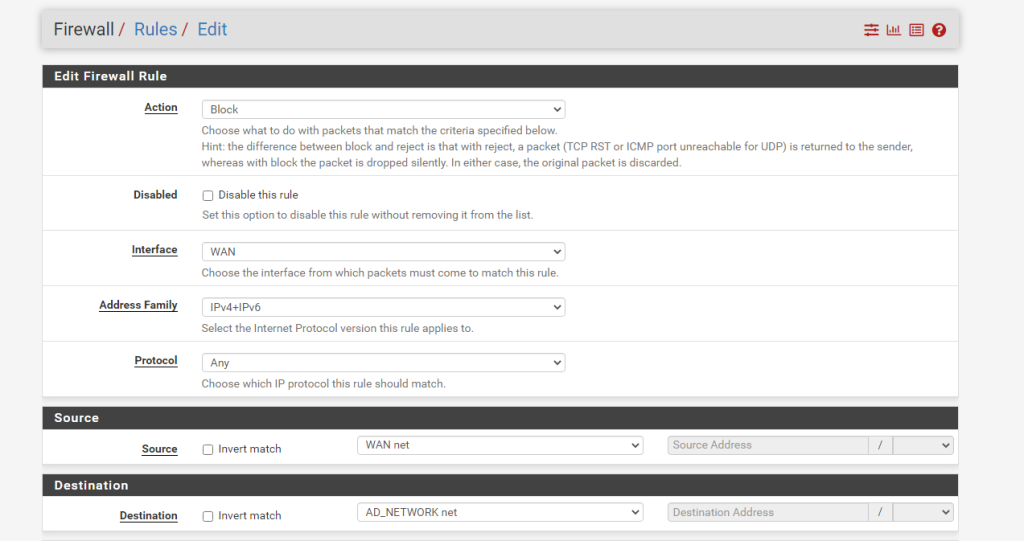
WAN Access to pfSense Web Interface
The first rule we’re going to add is WAN access to the router so we can log in from that network. Here’s the setup:
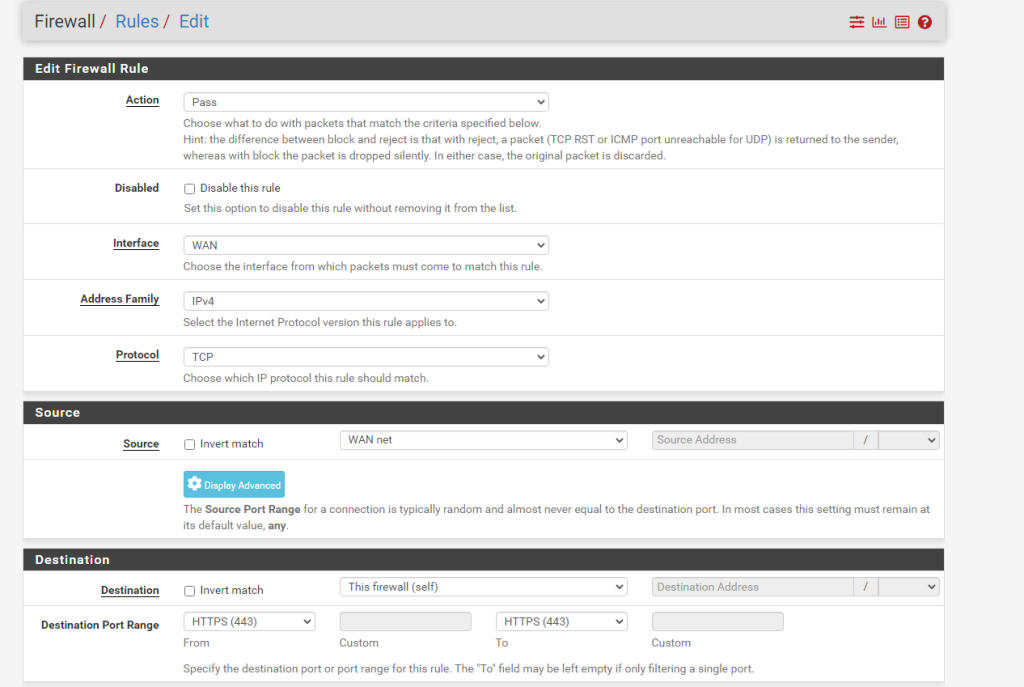
We’re only allowing traffic to pass to the firewall on port 443 to logging in. Save the changes. You don’t have to apply changes until all of the firewall rules are made.
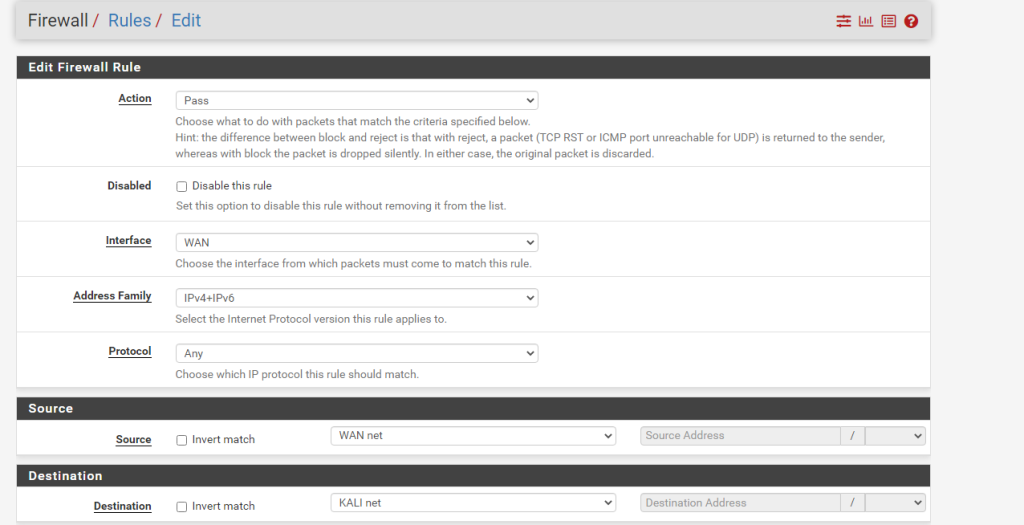
WAN to LAN Access
Next is allowing access from the WAN to the LAN:
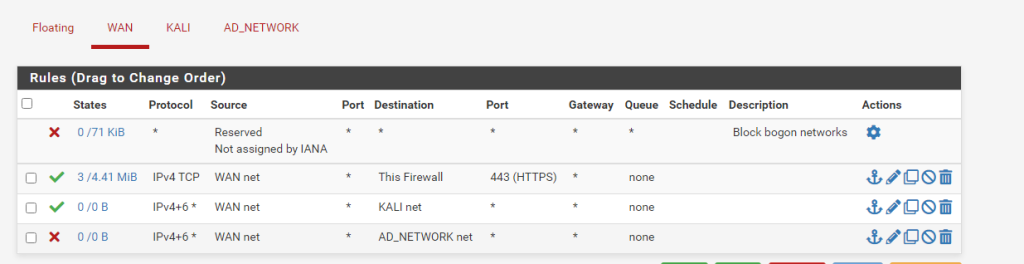
Block Access to Active Directory Network
Block all access to the Active Directory (AD) network. Note the action is Block:
The end state should look like this:
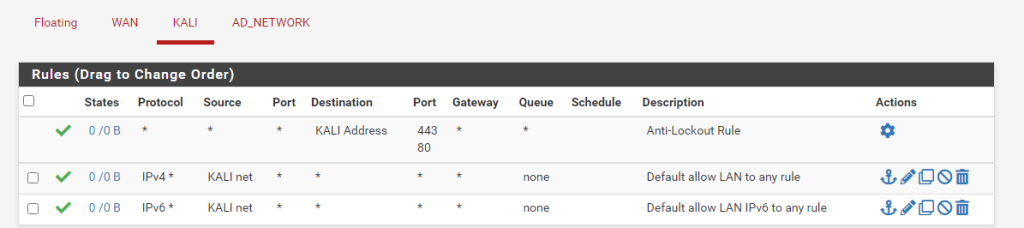
LAN Firewall Rules
No changes are need for the LAN interface. We want this network to be able to communicate with all of the other networks for now.
AD Network Rules
- Access to the default gateway for internet access
- Allow traffic to internet addresses
- Allow packets to the Kali machine
- Block all other traffic
Access Default Gateway

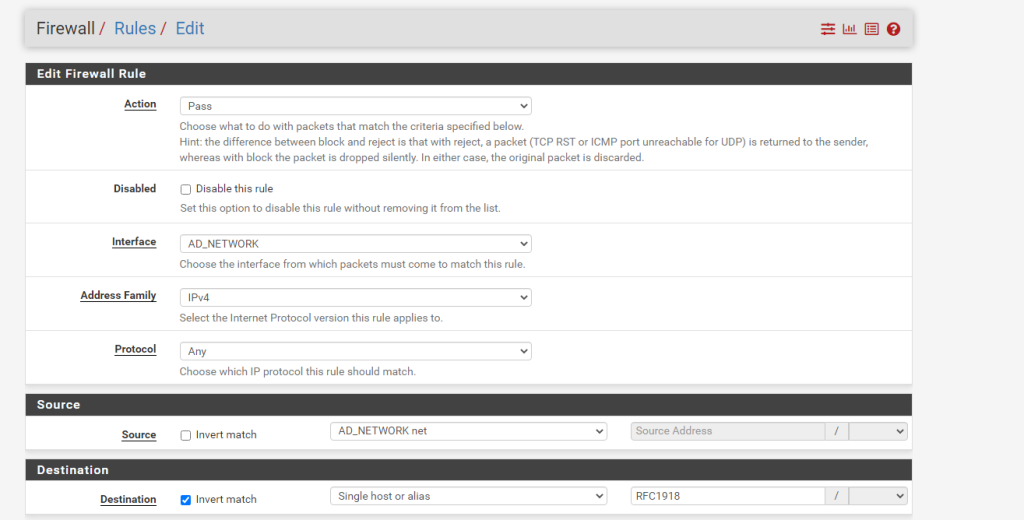
Allow Routing to Internet Addresses
Remember to check the “Invert match” box for the destination. For the destination address, the RFC1918 alias should come up as an autofill option once you start typing.
Allow Access to LAN
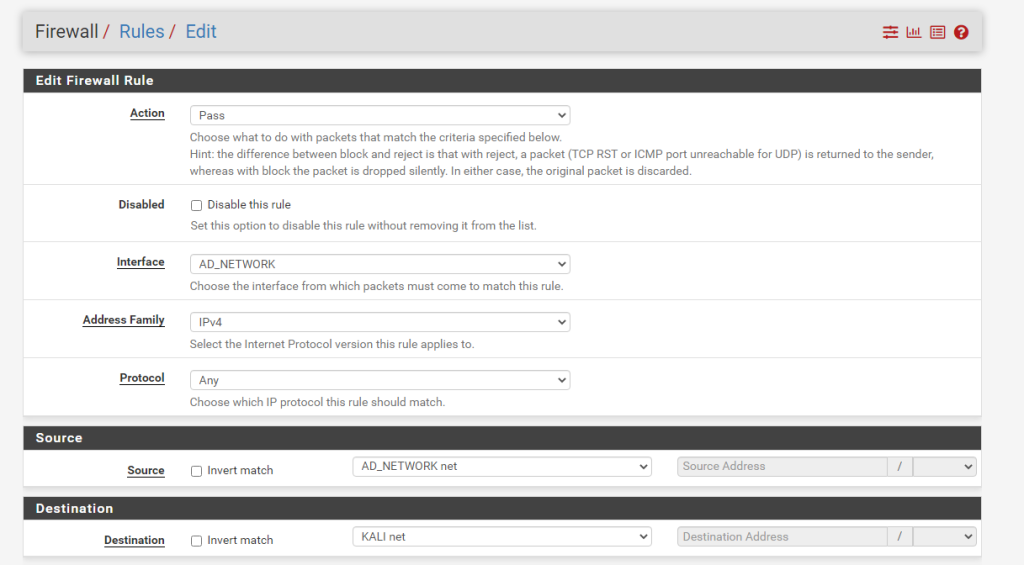
Block All other Traffic
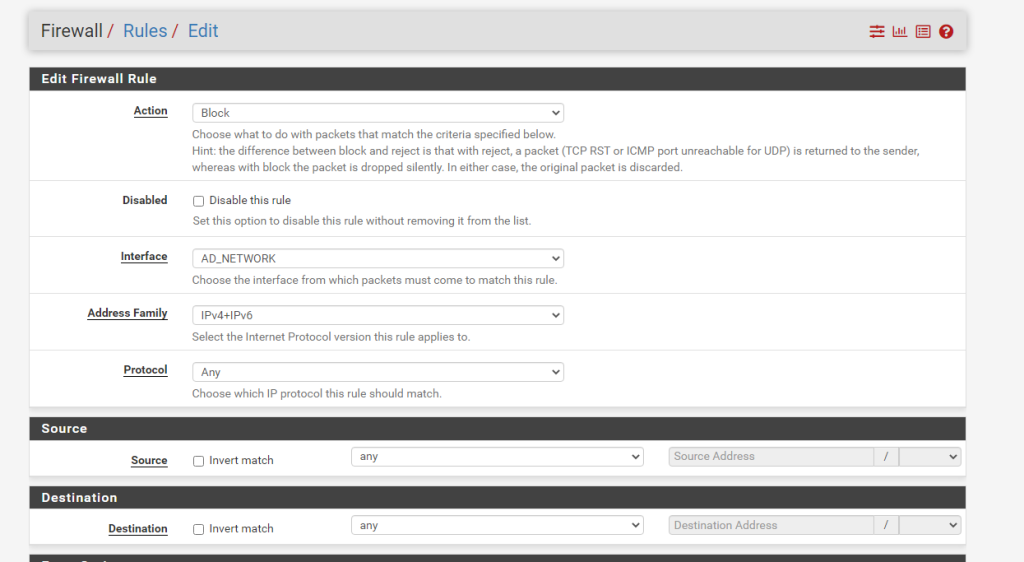
Our firewall rules are now done.
Static Routes
With the current setup, a device on the WAN should be able to communicate with any machines on the LAN interface. If not, a static route needs to be configured on your home router. You’ll need to specify the interface assigned to pfSense on the WAN and specify the destination as the gateway on the LAN. Here’s what that looks like for my router:

And with that, our firewall configuration is done. Now that we have the flow of traffic controlled between our networks, it’s time to set up the Active Directory network. After that, we’ll set up out monitoring systems to simulate alerting us of any suspicious activity on the network. Until next time.