For the next part of setting up our homelab, we’re going to set up a Kali Linux virtual machine. Kali Linux is Linux distribution that comes with numerous security and pentesting tools out of the box. We’re going to use this machine to simulate attacks on our victim networks.
Downloading the Iso
Go to the Kali Linux and download the iso here: https://www.kali.org/get-kali/#kali-installer-images
To save time in the future, we’re going to upload the iso to our Proxmox server so we don’t have to download it whenever we need it.
Right-click on the arrow to copy the download link.
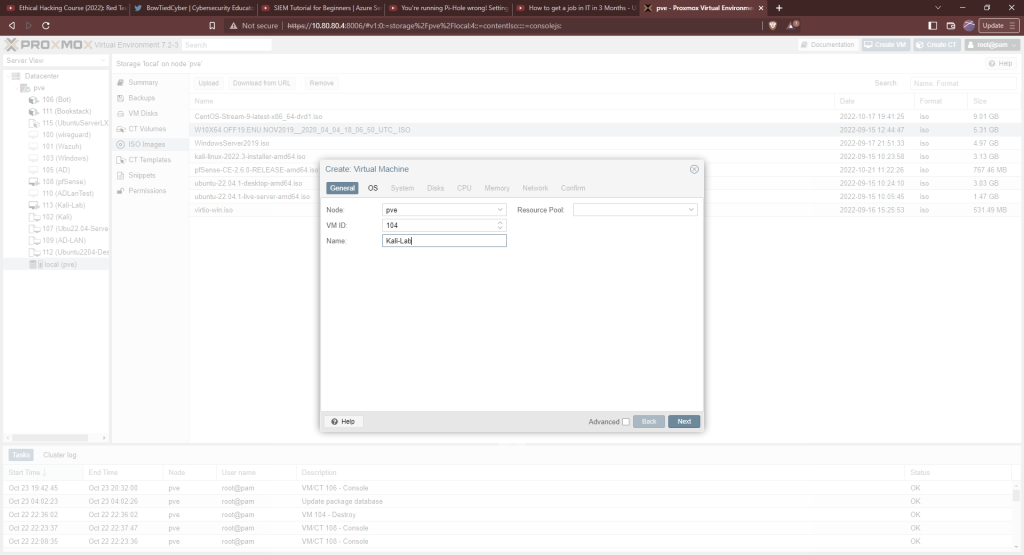
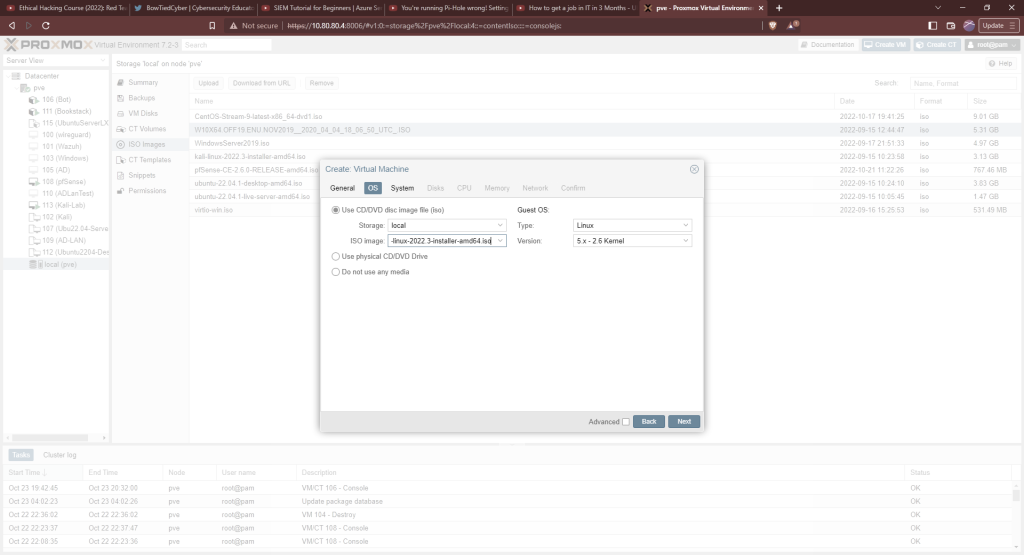
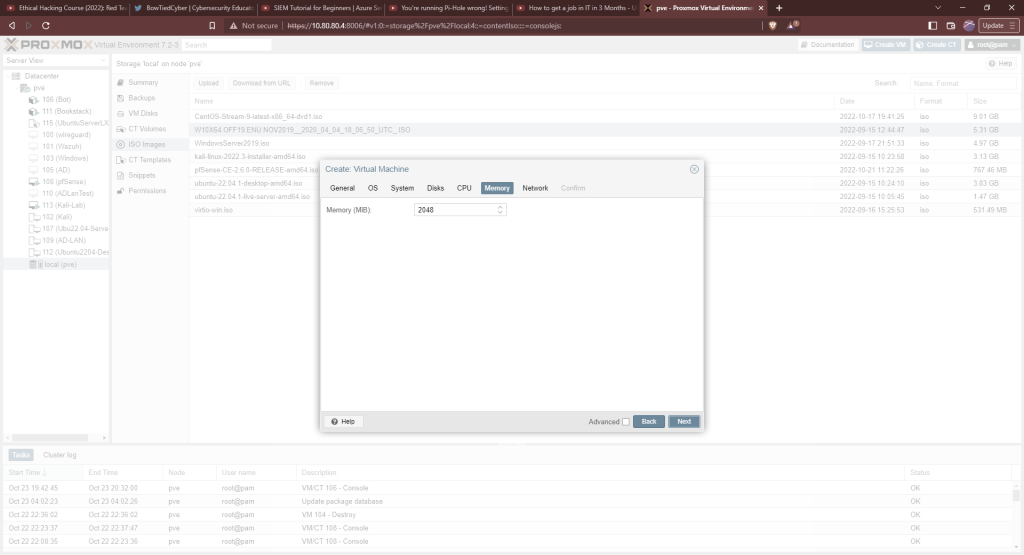
In Proxmox, click on local(pve), then “Iso Images”, then click upload. Paste the link and hit “Query URL.” Then, you can download the iso which will be stored locally for future use. After it’s finished downloading, create a VM.
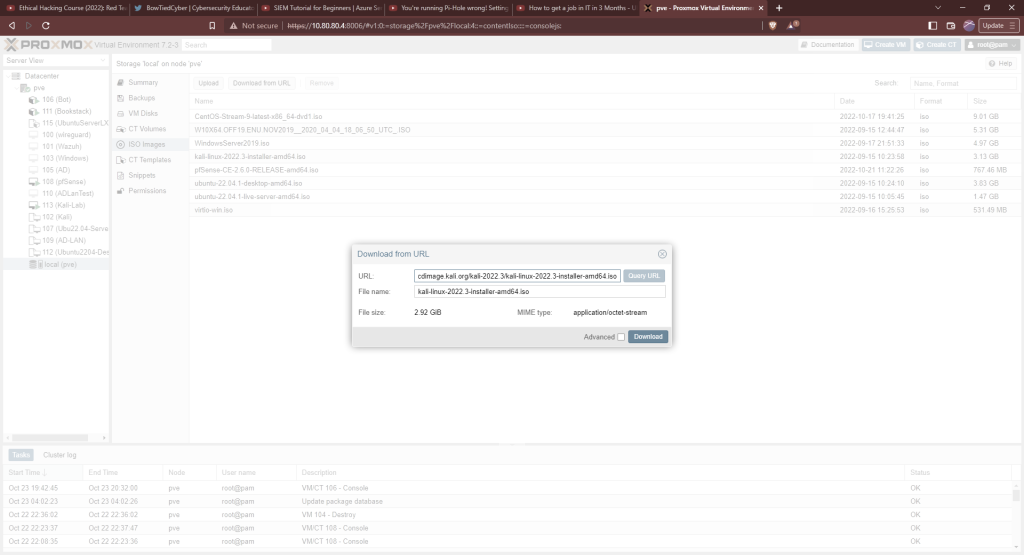
The iso you just downloaded should be available in the iso image list.
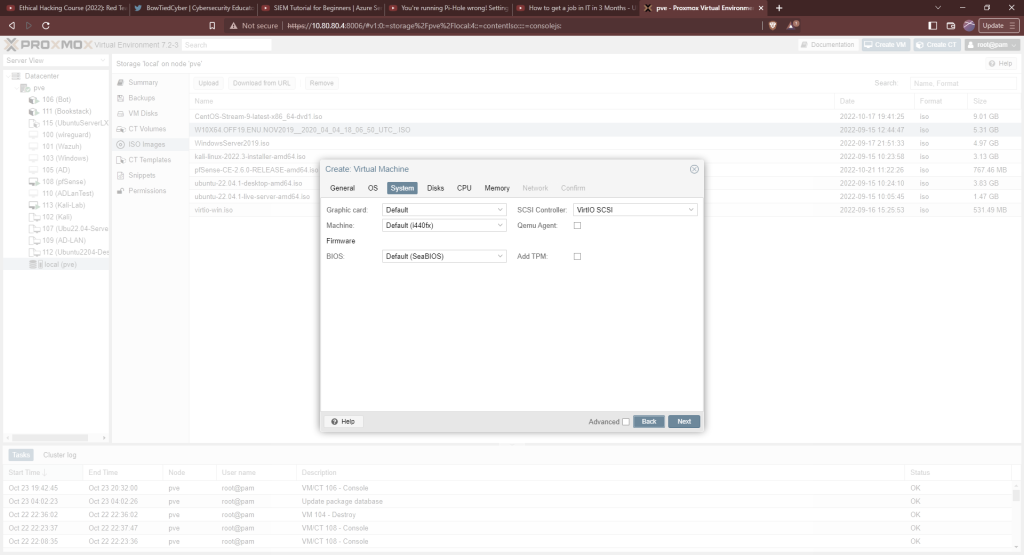
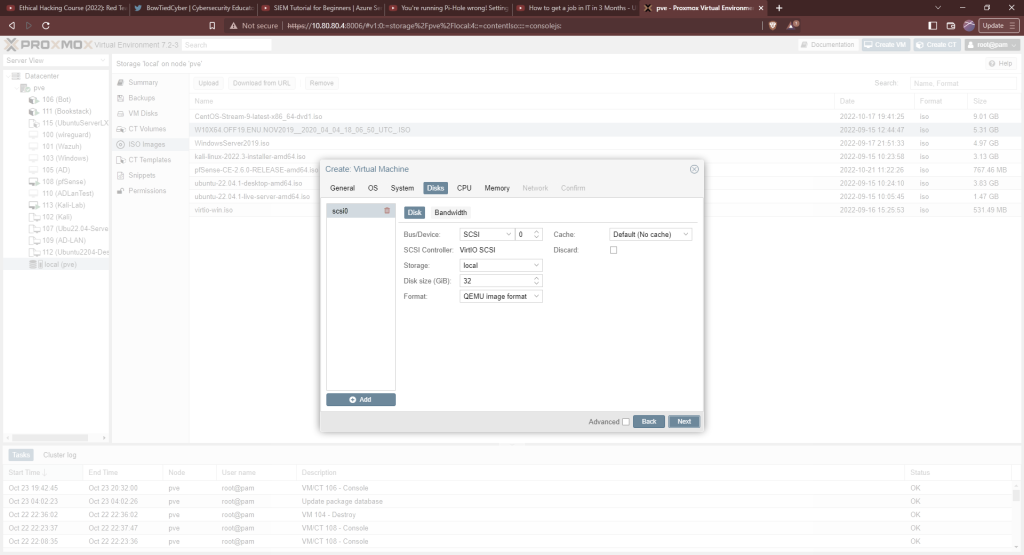
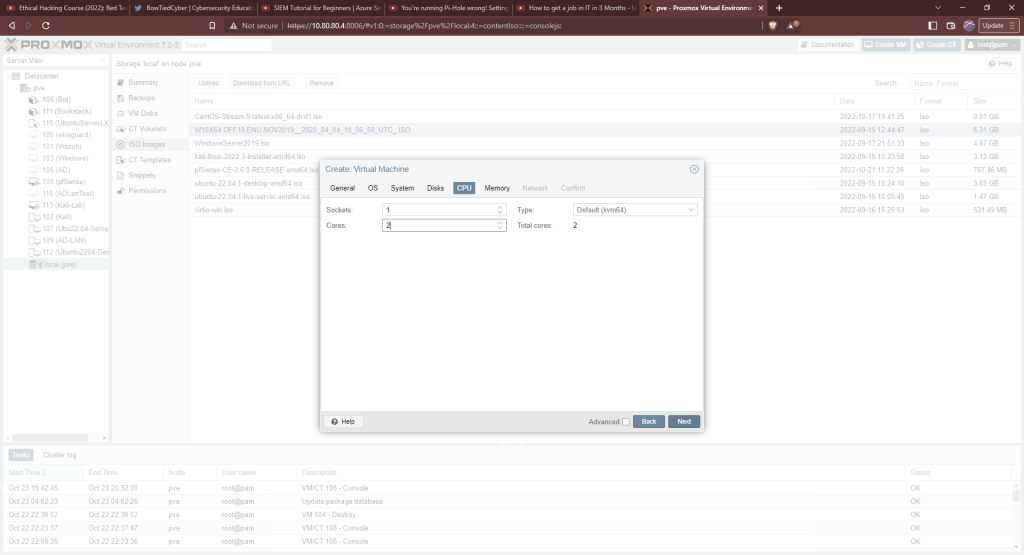
The settings under system do not need to be changed. 32GB of storage is enough. We’ll give this system 2 cores and 2GB of RAM. You can give your system more resources if your hardware allows.
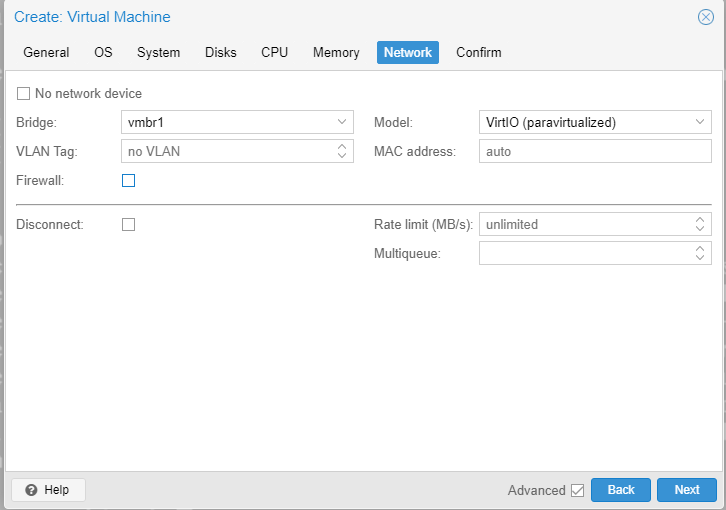
Remember to assign it the network interface corresponding to pfSense’s LAN interface. In our case, this is vmbr1. Finish the machine creation.
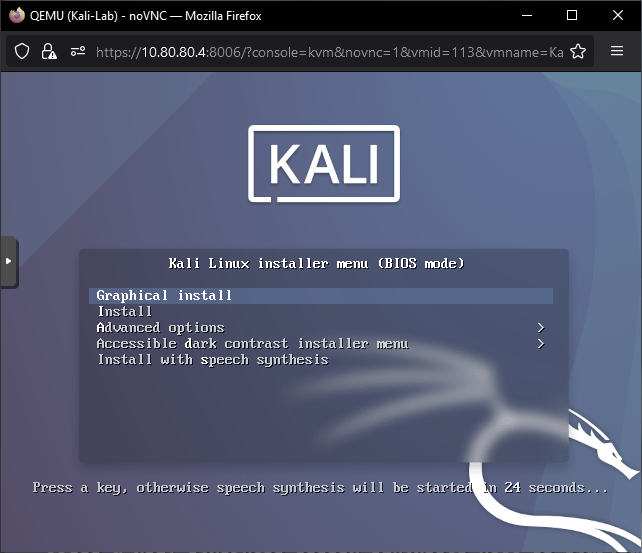
Start the machine and choose graphical install.
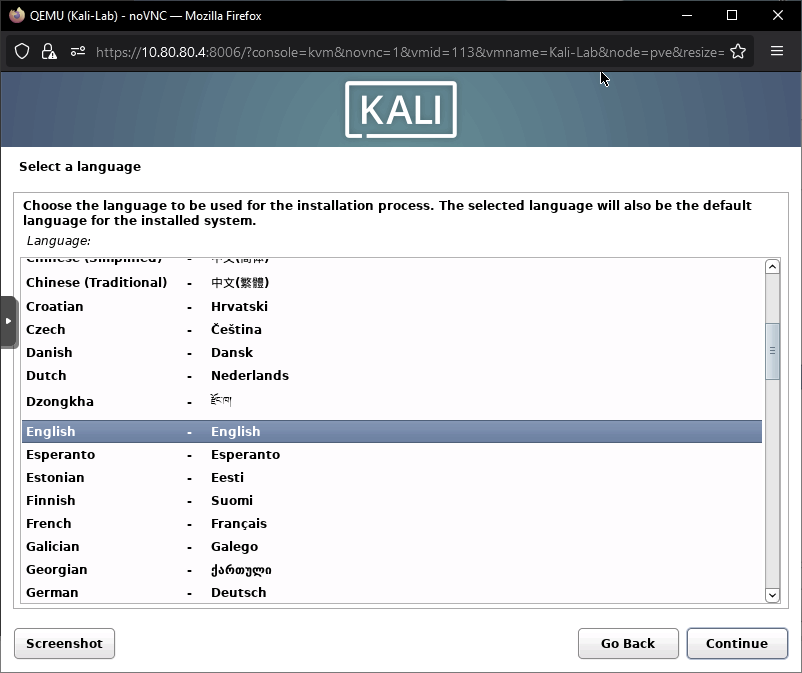
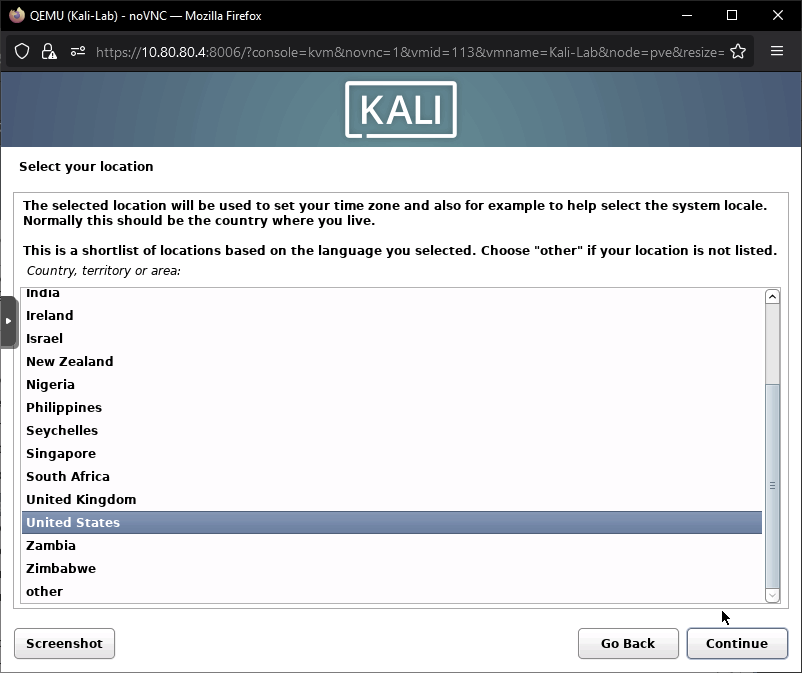
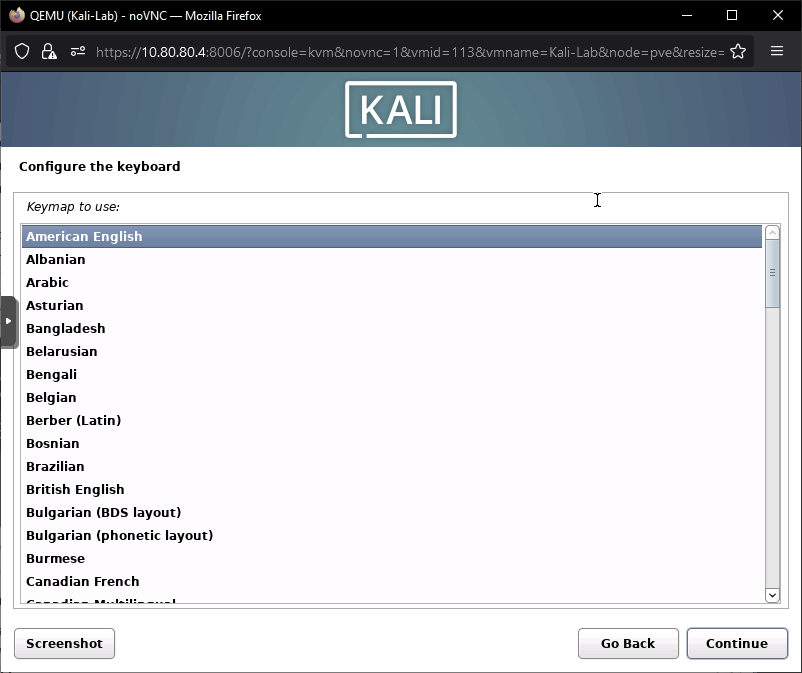
Choose your preferred language, region, and keyboard layout.
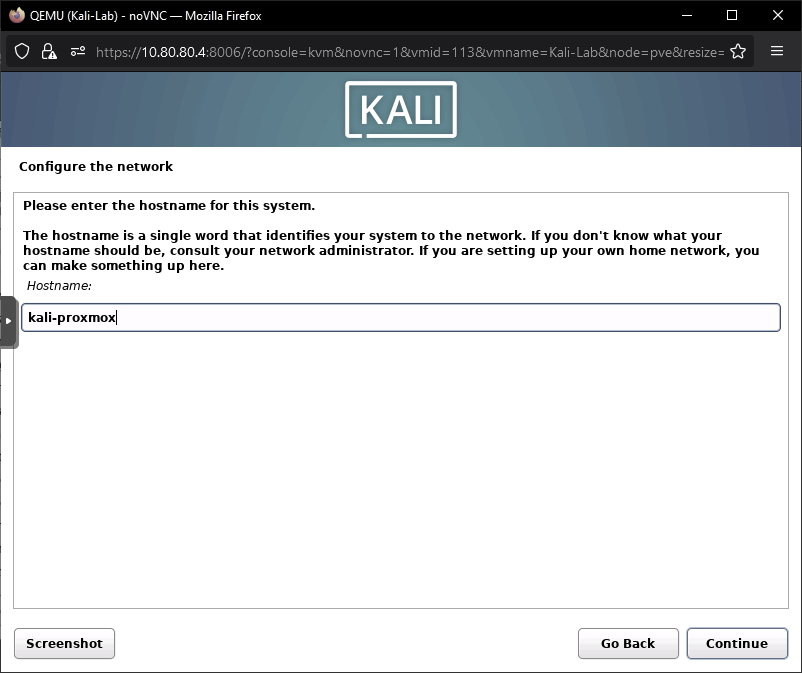
Give your machine a name. Name it something that will help you identify it from other machines on your network.
A domain name isn’t necessary for this setup, so it can be left blank. The full name can be left blank as well.

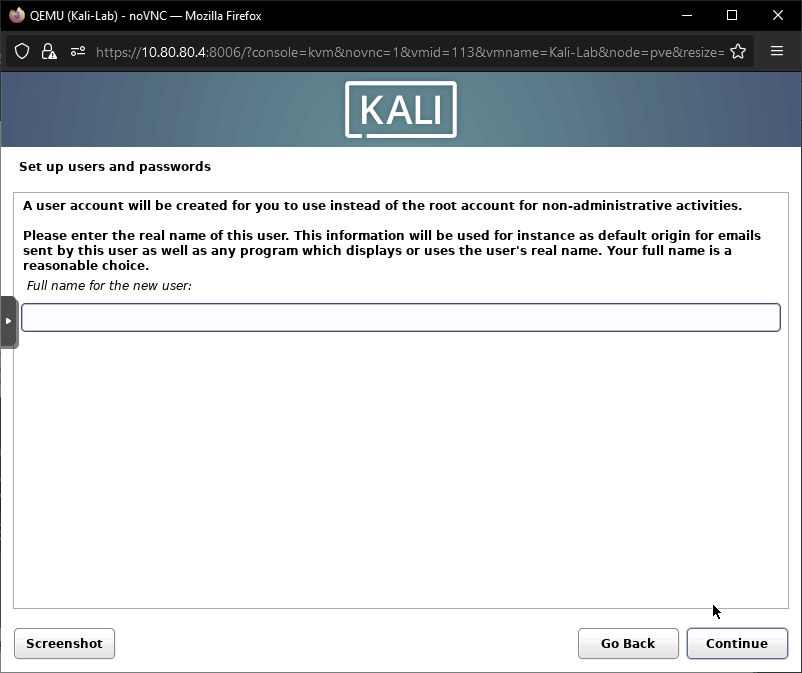
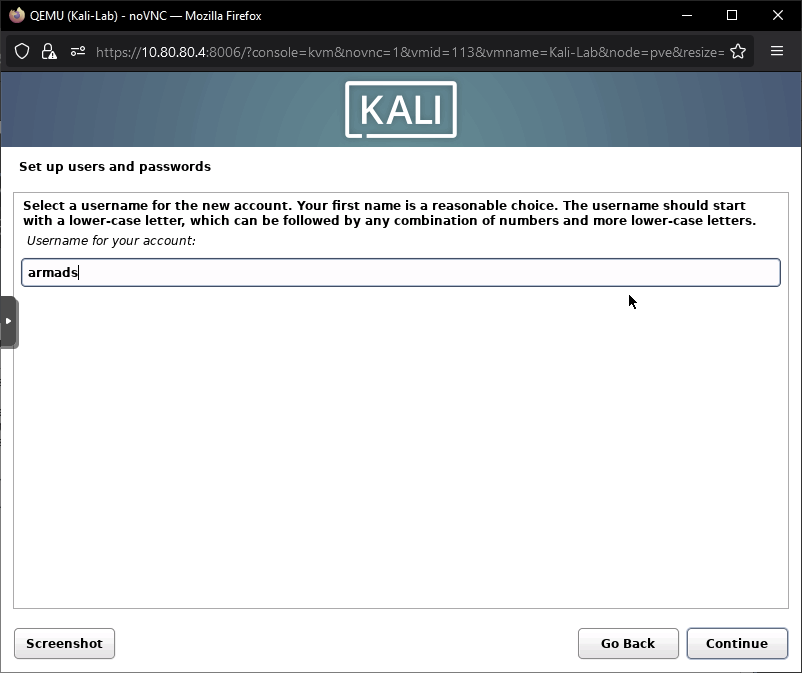
Set up a username for your account. Remember this name since it will be used to login to the machine. Same with the password.
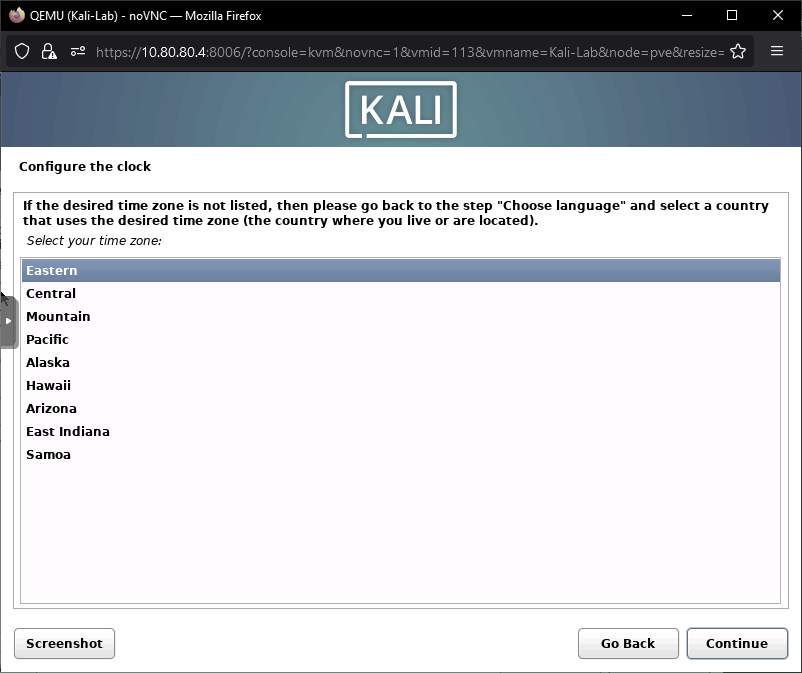
Set the clock
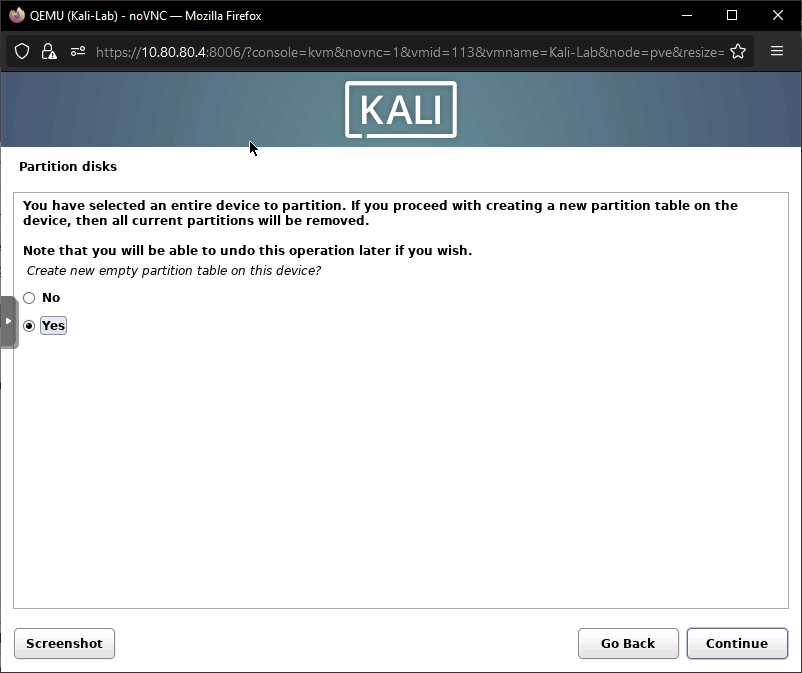
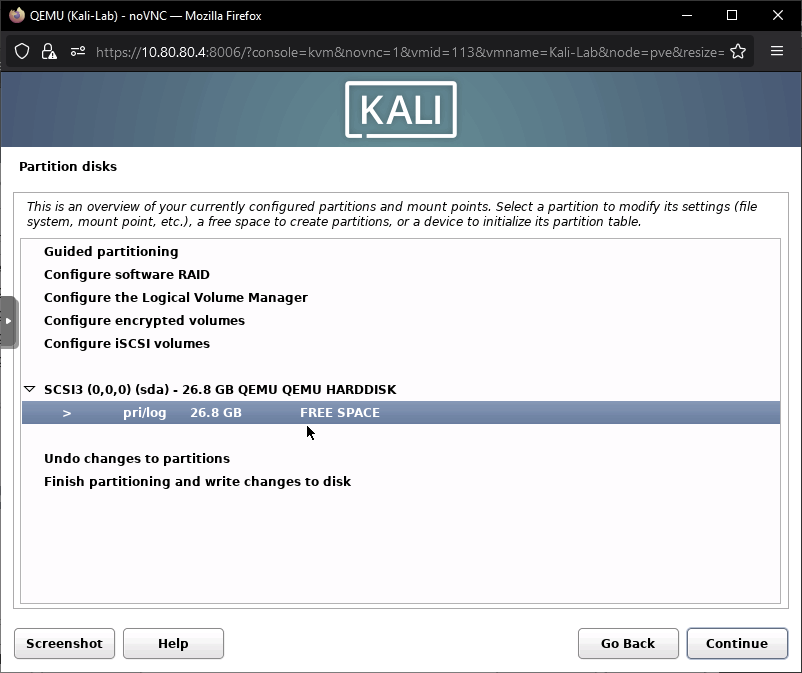
Choose the option in the middle to partition the disk. Choose yes on the next screen.
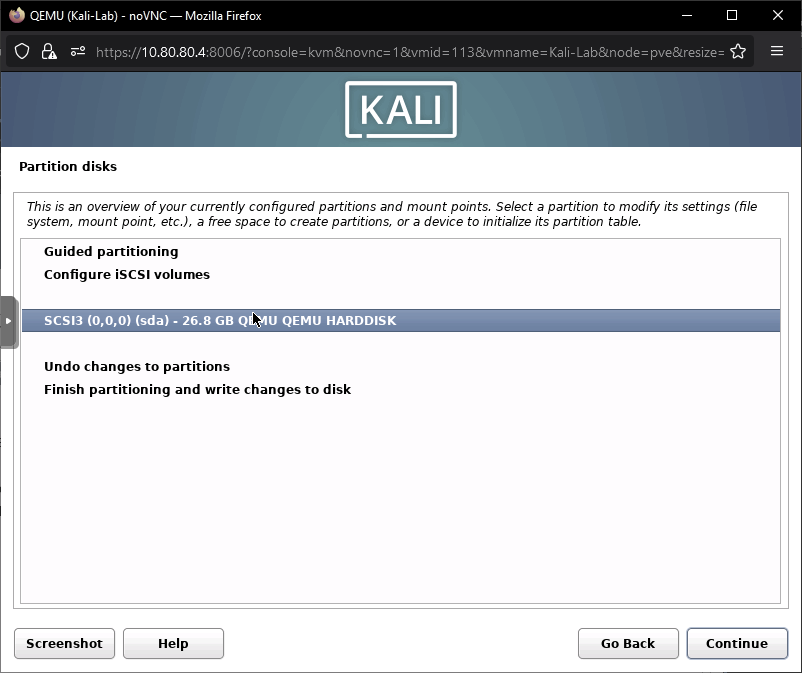
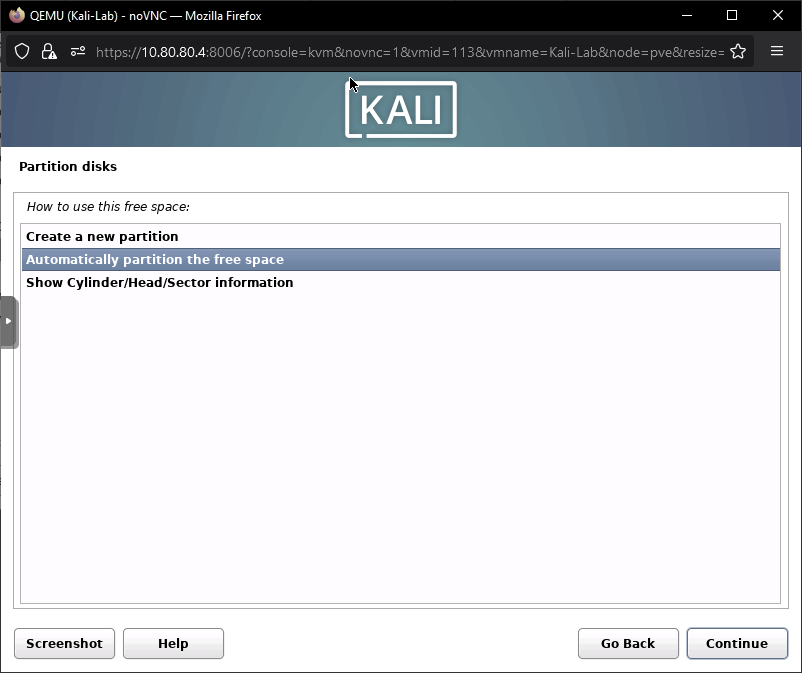
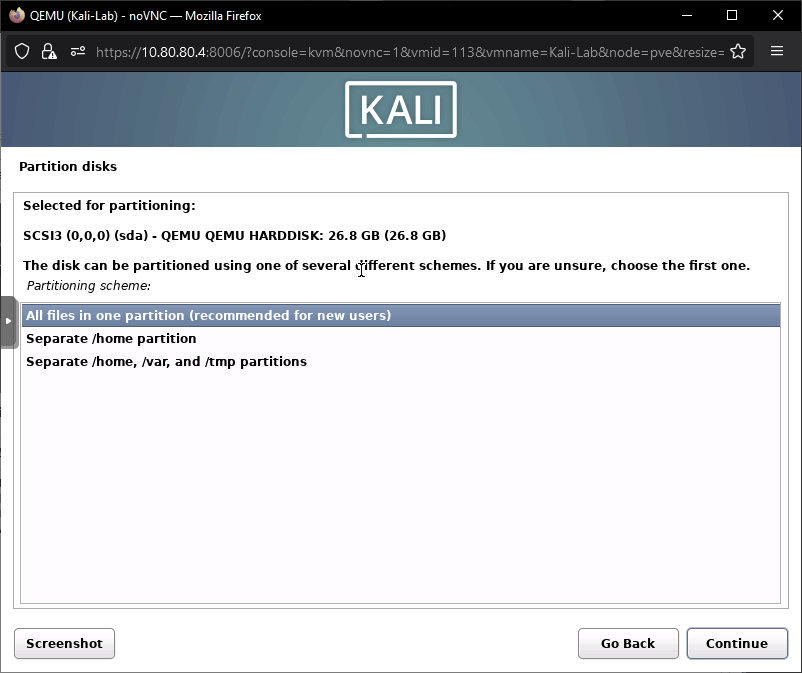
Highlight the pri/log option under the hard disk and press enter. Choose “Automatically partition the free space”, the “All files in one partition.”
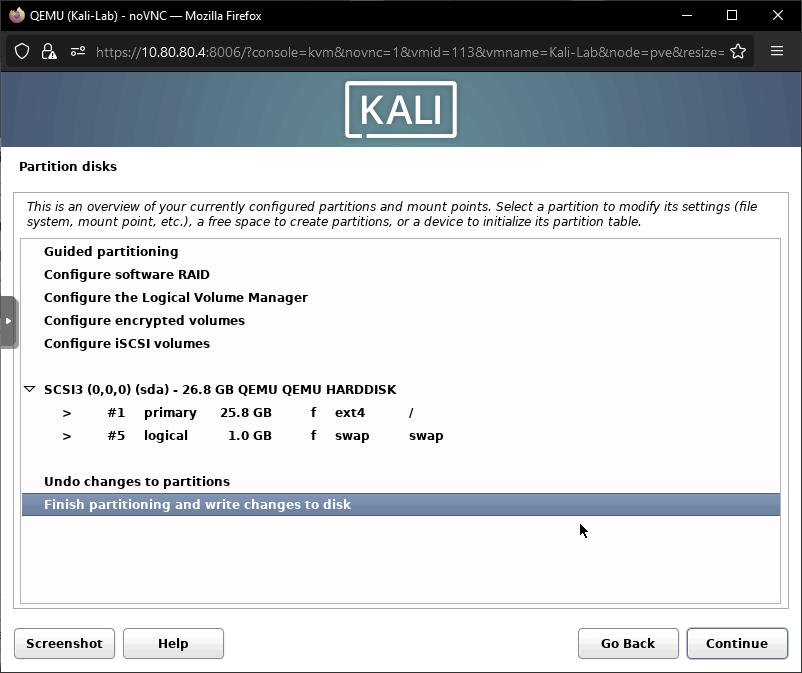
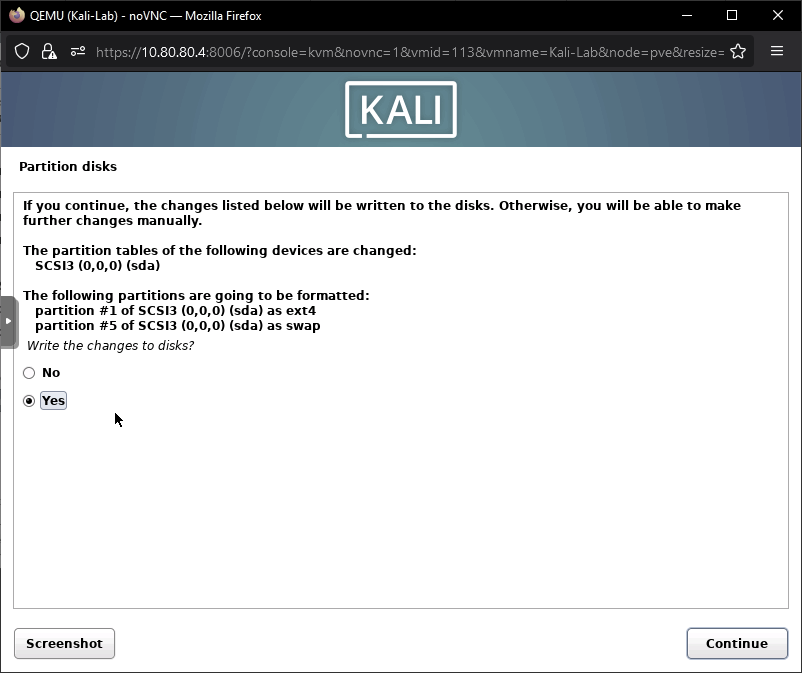
Highlight “Finish partitioning and write changes to disk” then click continue. Select yes on the following screen.
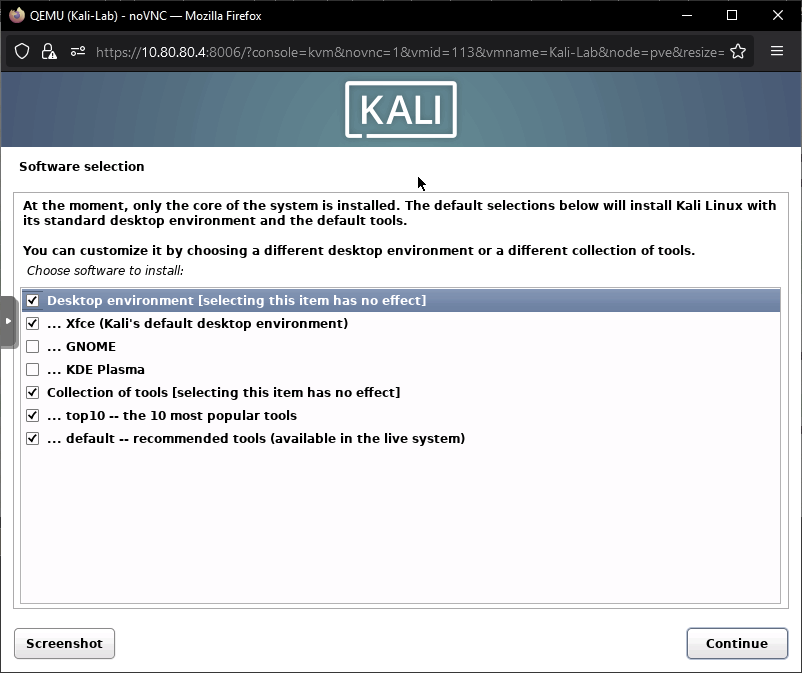
Click continue to install the desktop environment. This part of the installation will take some time.
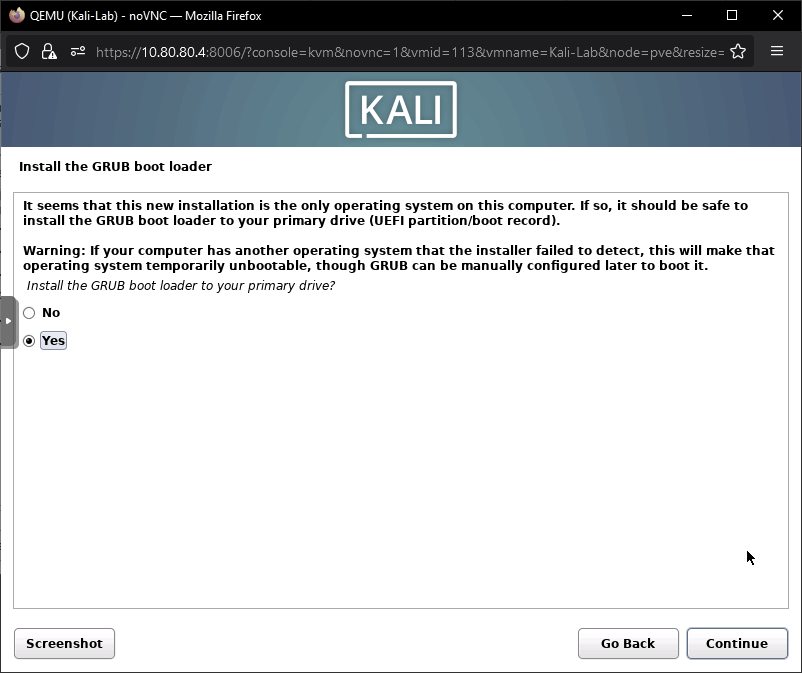
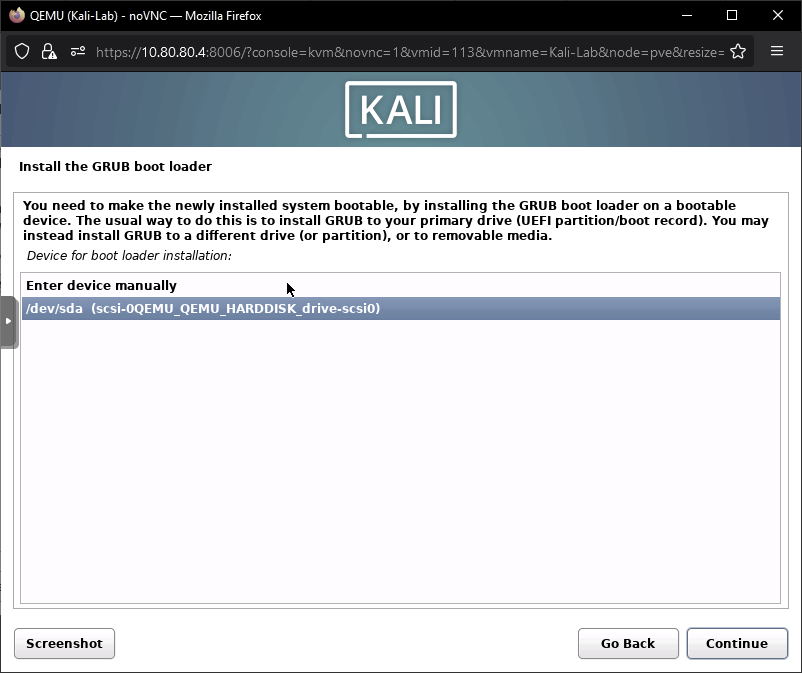
Highlight yes the click continue to install the GRUB boot loader. On the next screen, highlight the second option, then press continue.
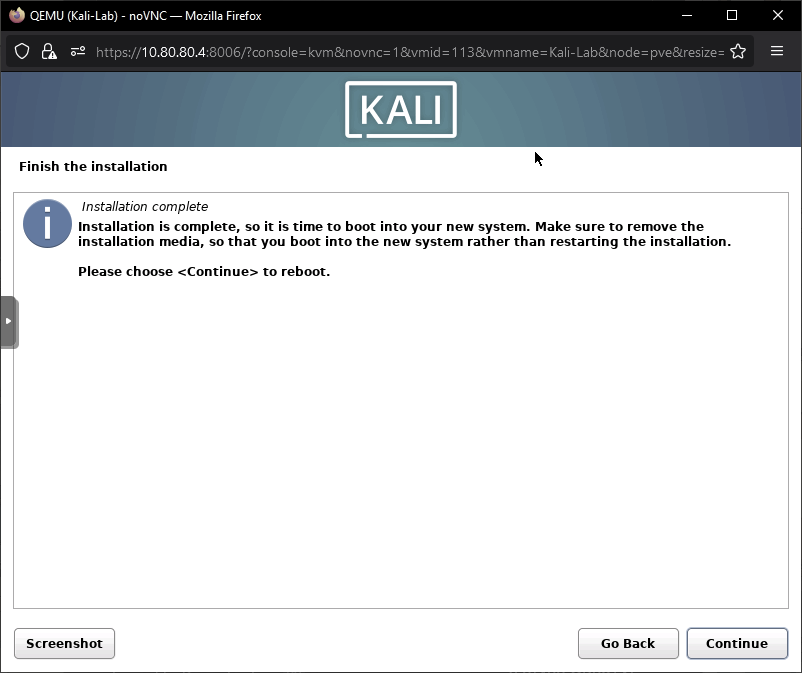
Choose continue to reboot.
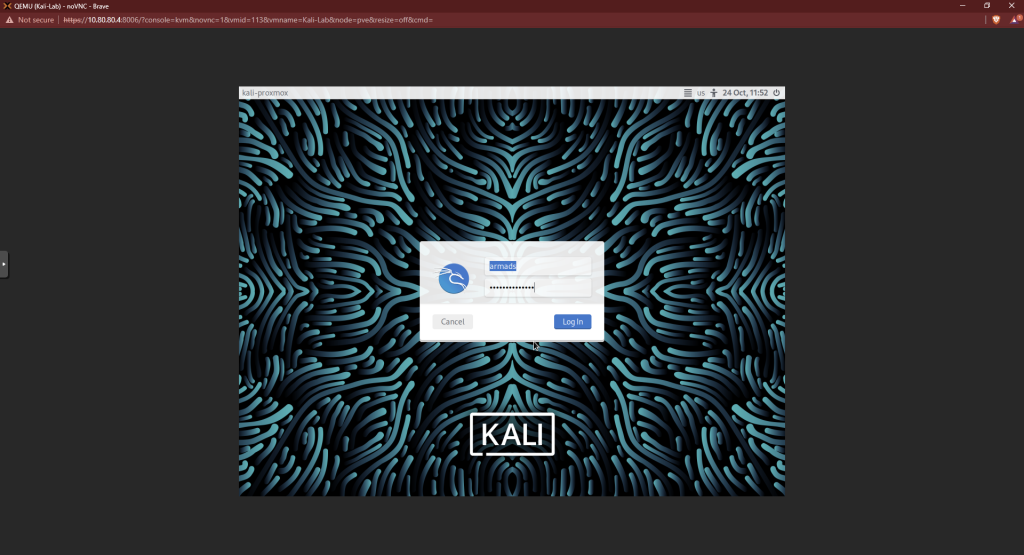
Log in with the username and password you used earlier. Congrats, your new Kali Linux machine is ready.